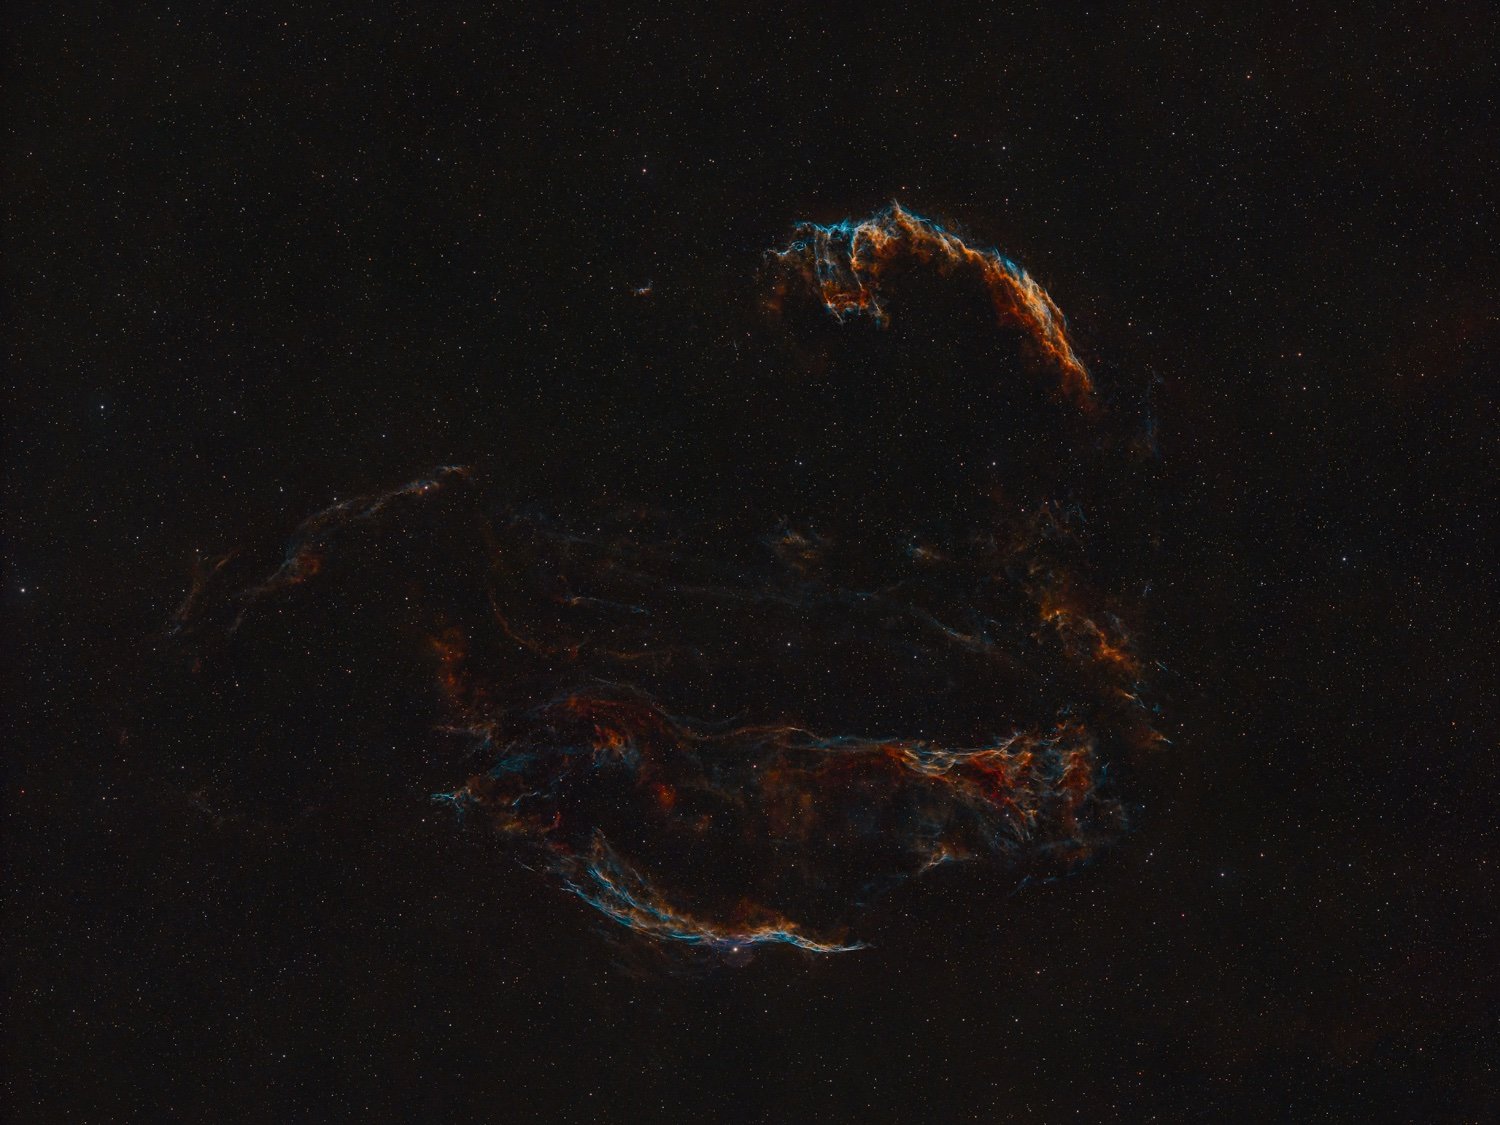
We shoot this image over two nights to reveal the faint structures of the veil nebula complex.
Shot with a 135mm lens and a Fuji X-T5.
We were in exactly the same situation and bought a Fuji camera. We are very happy with our decision as we can shoot both 'normal' photography with the feeling of a nice camera body and astrophotography on a beginner level.
The results we got so far exceeded our expectations by far, we posted some of our images here in this sub or here in full resolution .
One thing to keep in mind is that normal cameras block most of the infrared light, which makes it unsuitable for shooting hydrogen nebulae. That's a minor reason why we eventually chose a Fuji camera, as they filter a bit less infrared than other brands.
In the end the biggest impact makes the lens/telescope. After a lot of research we chose the Samyang/ Rokinon 135mm f2.0 lens. Also we found it very rewarding shooting with such a 'small' focal length because it forgives minor inaccuracies while giving very good results.
For us the biggest reasons for this hobby are to experience the night sky with our own equipment and learning very much (about physics, processing the data, cameras, ...). Both things can be achieved with modest equipment and I would keep that in mind when comparing own images with others. Also I personally love the challenge to get the best possible results with things you already have.
Hope that helped a bit.
Full resolution image and more details here
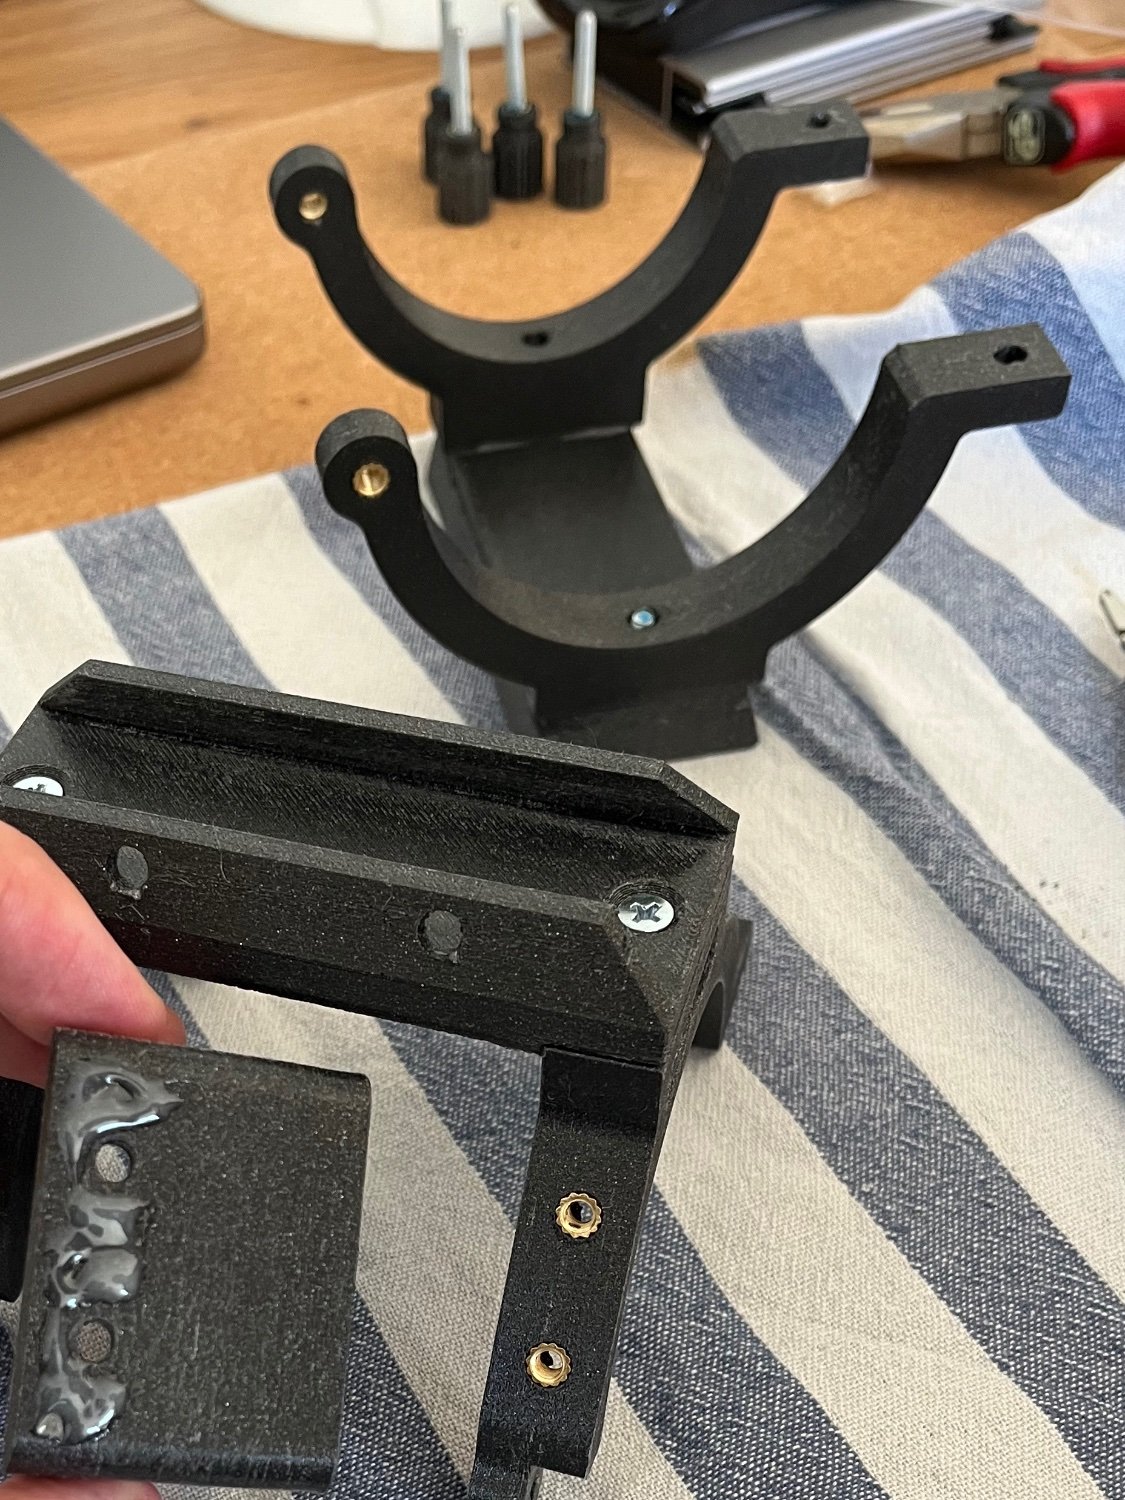
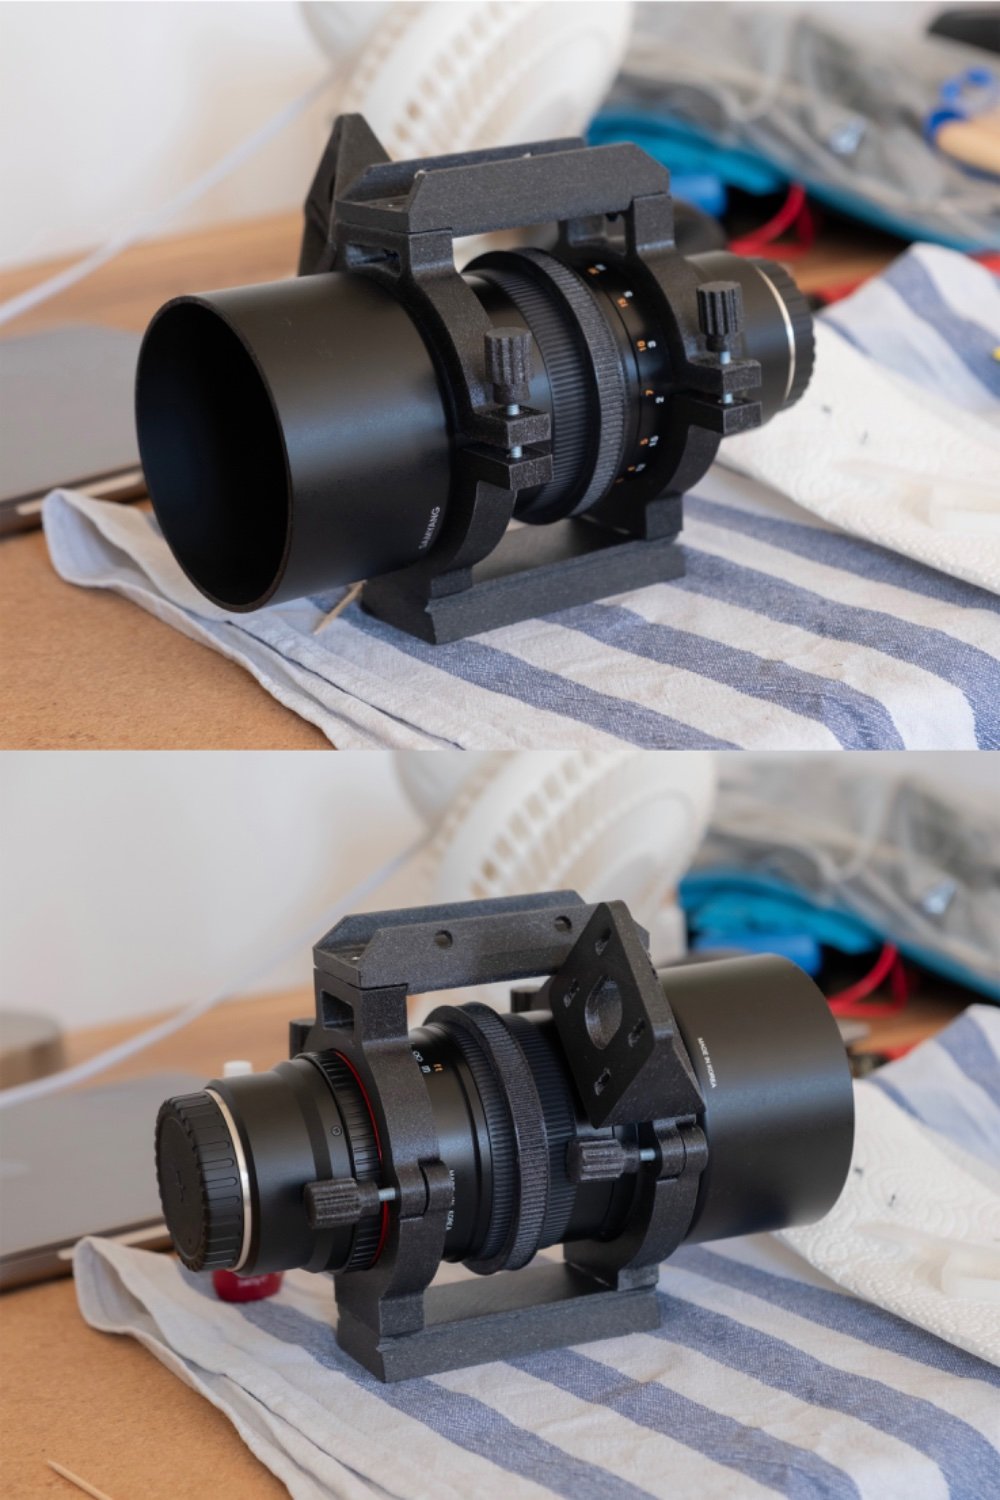
Also this is what our setup looks like to shoot such an image:

We shoot this image over two nights to reveal the faint structures of the veil nebula complex.
Shot with a 135mm lens and a Fuji X-T5.
Also this is a 3d animation of our setup used to shoot this image:
We finally got two clear nights and although the moon was really bright, this target came out quite well due to the narrowband filter.
Equipment:
Images:
Editing:
Full resolution and more details: https://telescopius.com/pictures/view/198606/deep_sky/ngc-6974/veil-nebula-complex/by-maxi_franzi

I can recommend this online telescope simulator where you can simulate the field of view with your equipment. Your 300mm lens should be absolutely perfect
This lens is incredibly sharp and produces nearly no coma. Also the image is super flat and the lens also works for full frame cameras. For its high image quality it‘s also used by some more advanced astrophotographers.
As I bought it new for 400€ this was a no brainer because we can also use it for 'normal' photography.
I‘m sure your lens works well for many nebulae!
Thank you! Andromeda is way bigger than most people think. That’s the reason why it is a very (maybe the most) popular target for beginners. Also there went a lot of processing into the image, so don’t let the image deceive you from the actual conditions where I live (Bortle 5 zone)
The lens is the telescope in this case. But as the focal length of 135mm is fairly short it works best for objects appearing very large in the sky. Astrophotography can get very expensive very quickly, so we try to make the most out of the equipment we have. Just like with the 3d printed mount.
The Samyang 135mm f2.0. In some markets it‘s also called Rokinon
Thank you! I agree, it really is an amazing topic.
Glueing and screwing the parts:
One result shot with this mount (and many other accessories):
I found this design and it fitted my need perfectly. It is a mount for a very popular camera lens used in astrophotography. It not only functions as a weight relief for the camera but also allows to rotate the field of view. Moreover it is possible to focus the lens with the installation of a stepper motor, which will be the next step.
The single parts are screwed together with the help of threaded heat inserts. Just to make sure they are also glued together with epoxy, as the mount really needs to hold up. The screws are locked with Loctite.
Edit: Link to the mount (not my design): https://www.thingiverse.com/thing:6099113
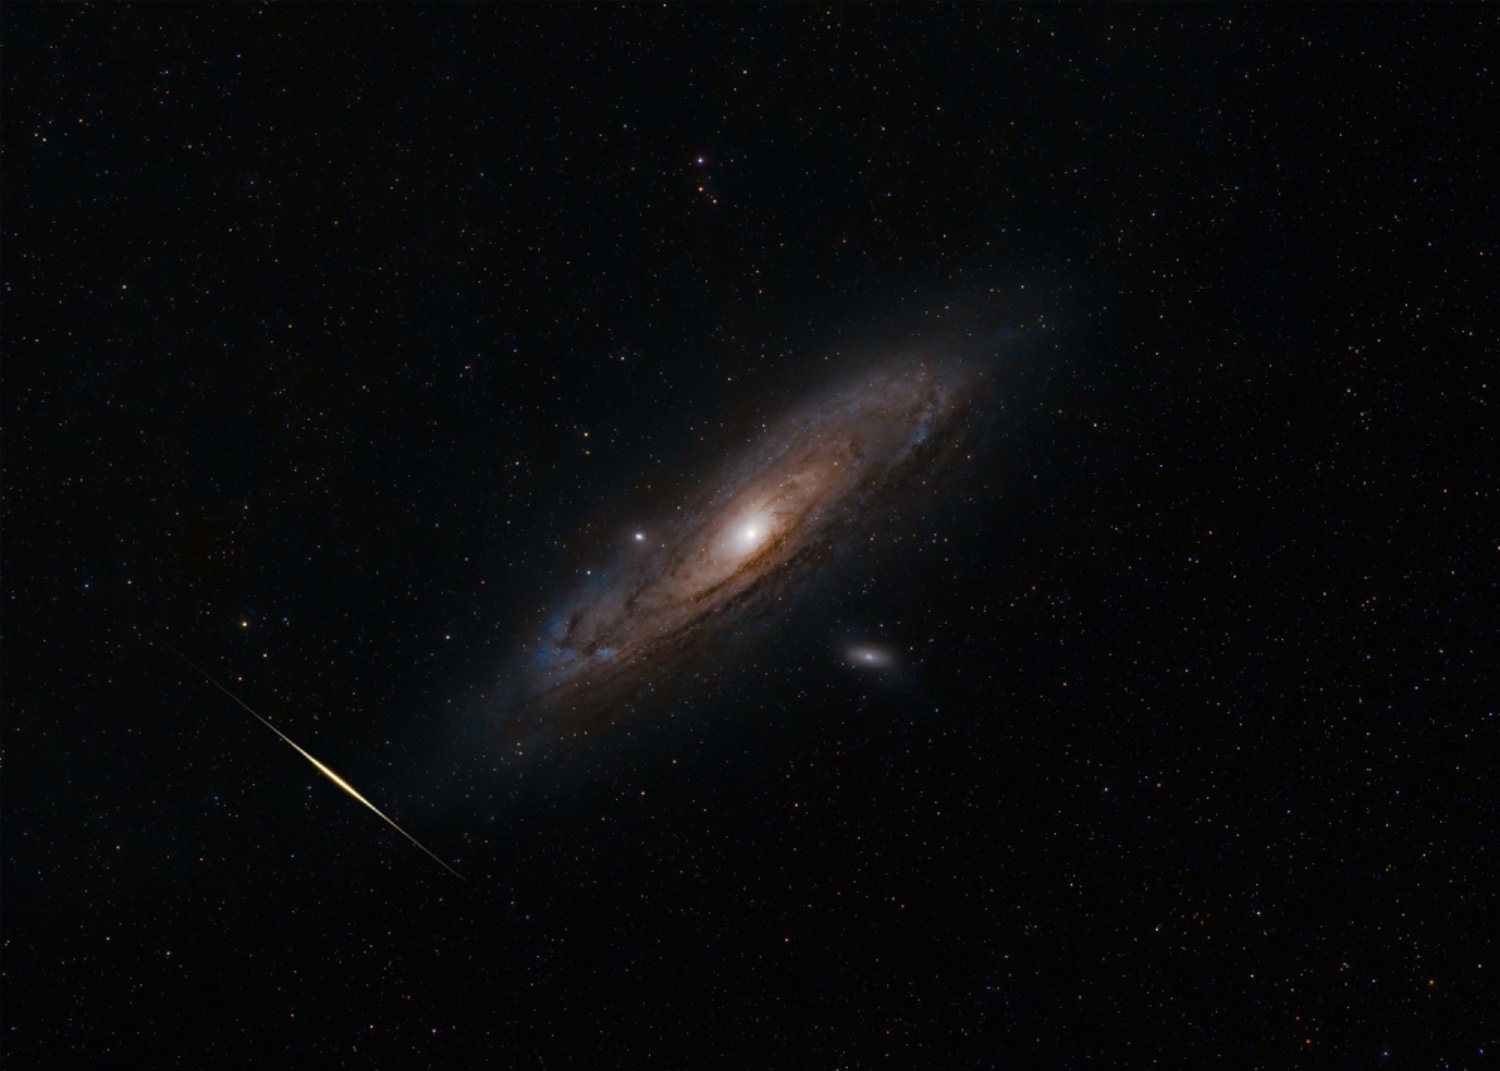
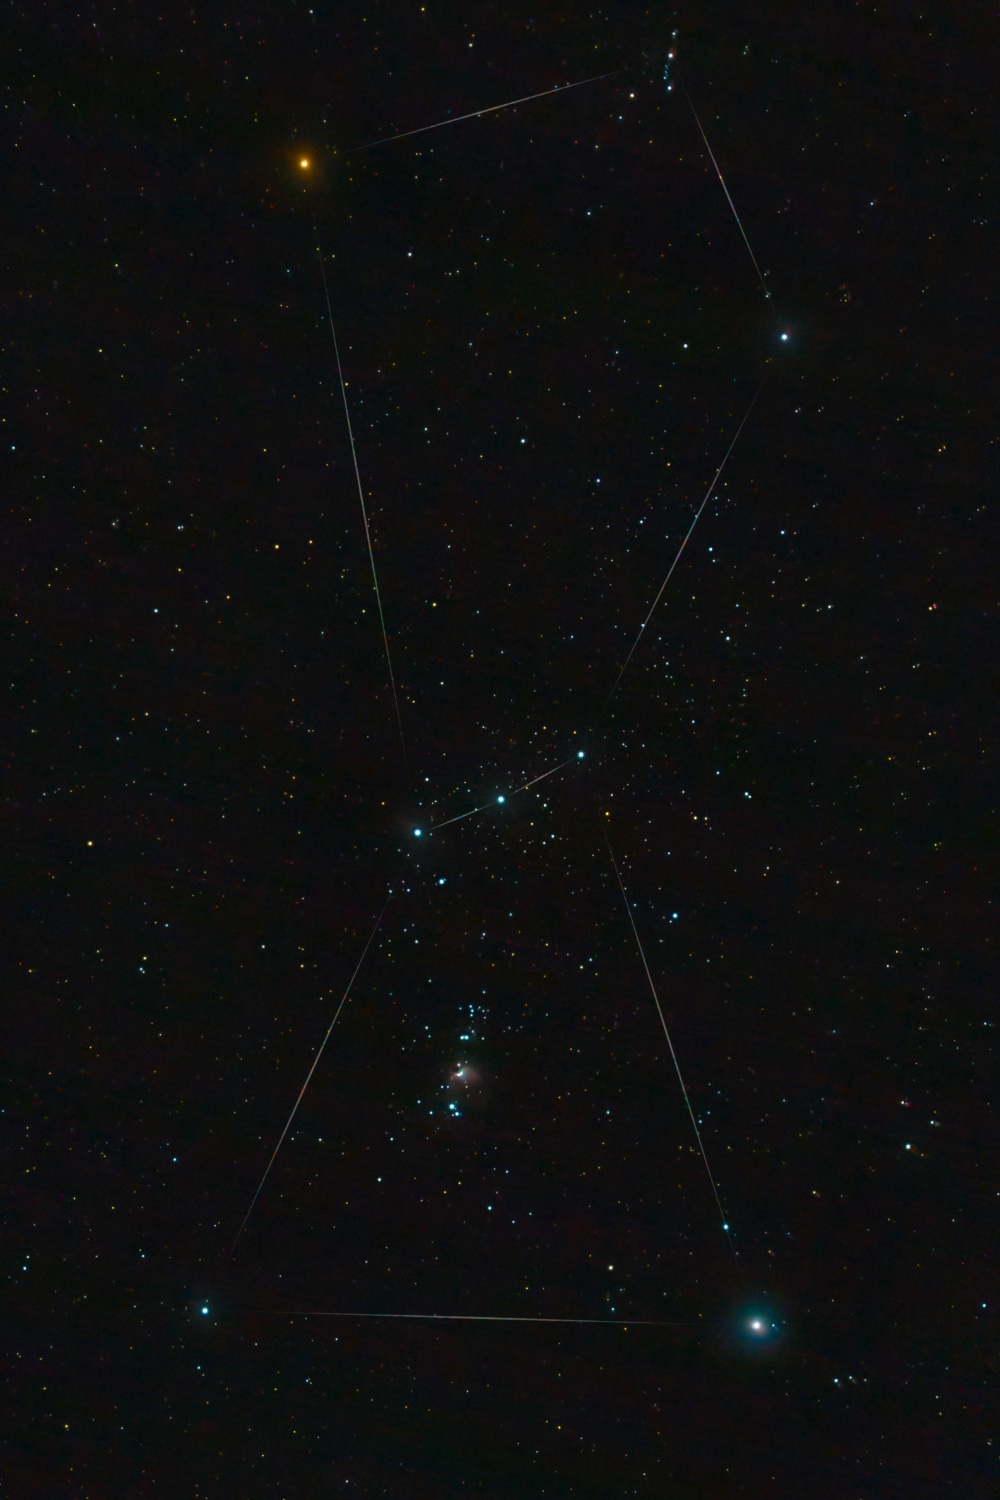
Very interesting, thank you for sharing. Your linked gif makes it very apparent that it was indeed a satellite.
I also searched in Stellarium and found a decommissioned military satellite called STSS Demo 2 that fits the path and time stamp perfectly.
-9 magnitude is insane, must’ve been a very cool sight.
~~We got a lucky shot of Andromeda with a meteor crossing our view.~~ Apparently we shot a satellite flare next to Andromeda.
Images:
Processing:

Although the seeing was not great we managed to get our first shot of the region around Sadr.
Equipment:
Images:
Editing:
Full resolution and more infos: https://telescopius.com/pictures/view/192523/deep_sky/crescent-nebula/NGC/6888/diffuse-nebula/by-maxi_franzi

Equipment:
Images:
Editing:
Full resolution and more info: https://telescopius.com/pictures/view/192387/deep_sky/omega-or-swan-nebula/M/17/diffuse-nebula/by-maxi_franzi

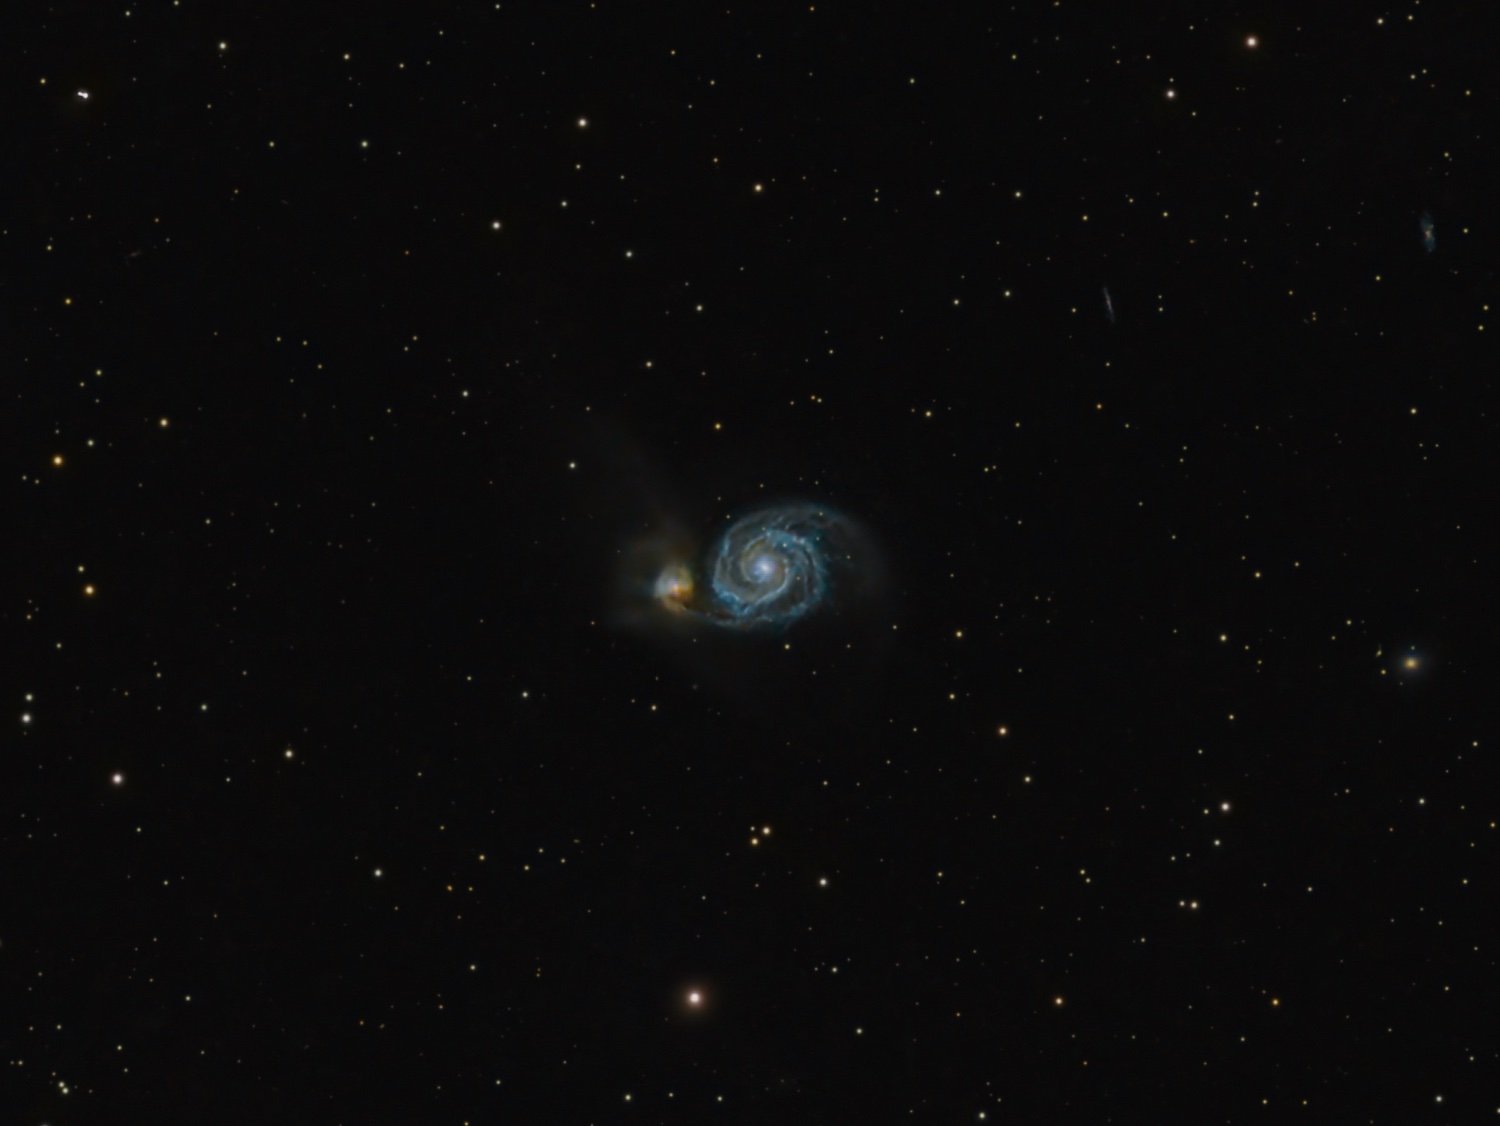
Whirlpool galaxy shot at 135mm.
Equipment:
Images:
Full resolution: https://telescopius.com/pictures/view/188842/deep_sky/whirlpool-galaxy/M/51/galaxy/by-maxi_franzi
Wide field shot of the virgo cluster.
Equipment:
Images:
Full resolution and more info: https://telescopius.com/pictures/view/188443/deep_sky/markarian-chain/galaxy/by-maxi_franzi

Hope this low effort post is accepted, I just wanted to share my first image when I started.
There was no telescope or tracker used, just a smartphone leaned against my wallet.
Images:
Editing:
I couldn’t agree more, thank you for sharing so much information!