
cross-posted from: https://slrpnk.net/post/12129345
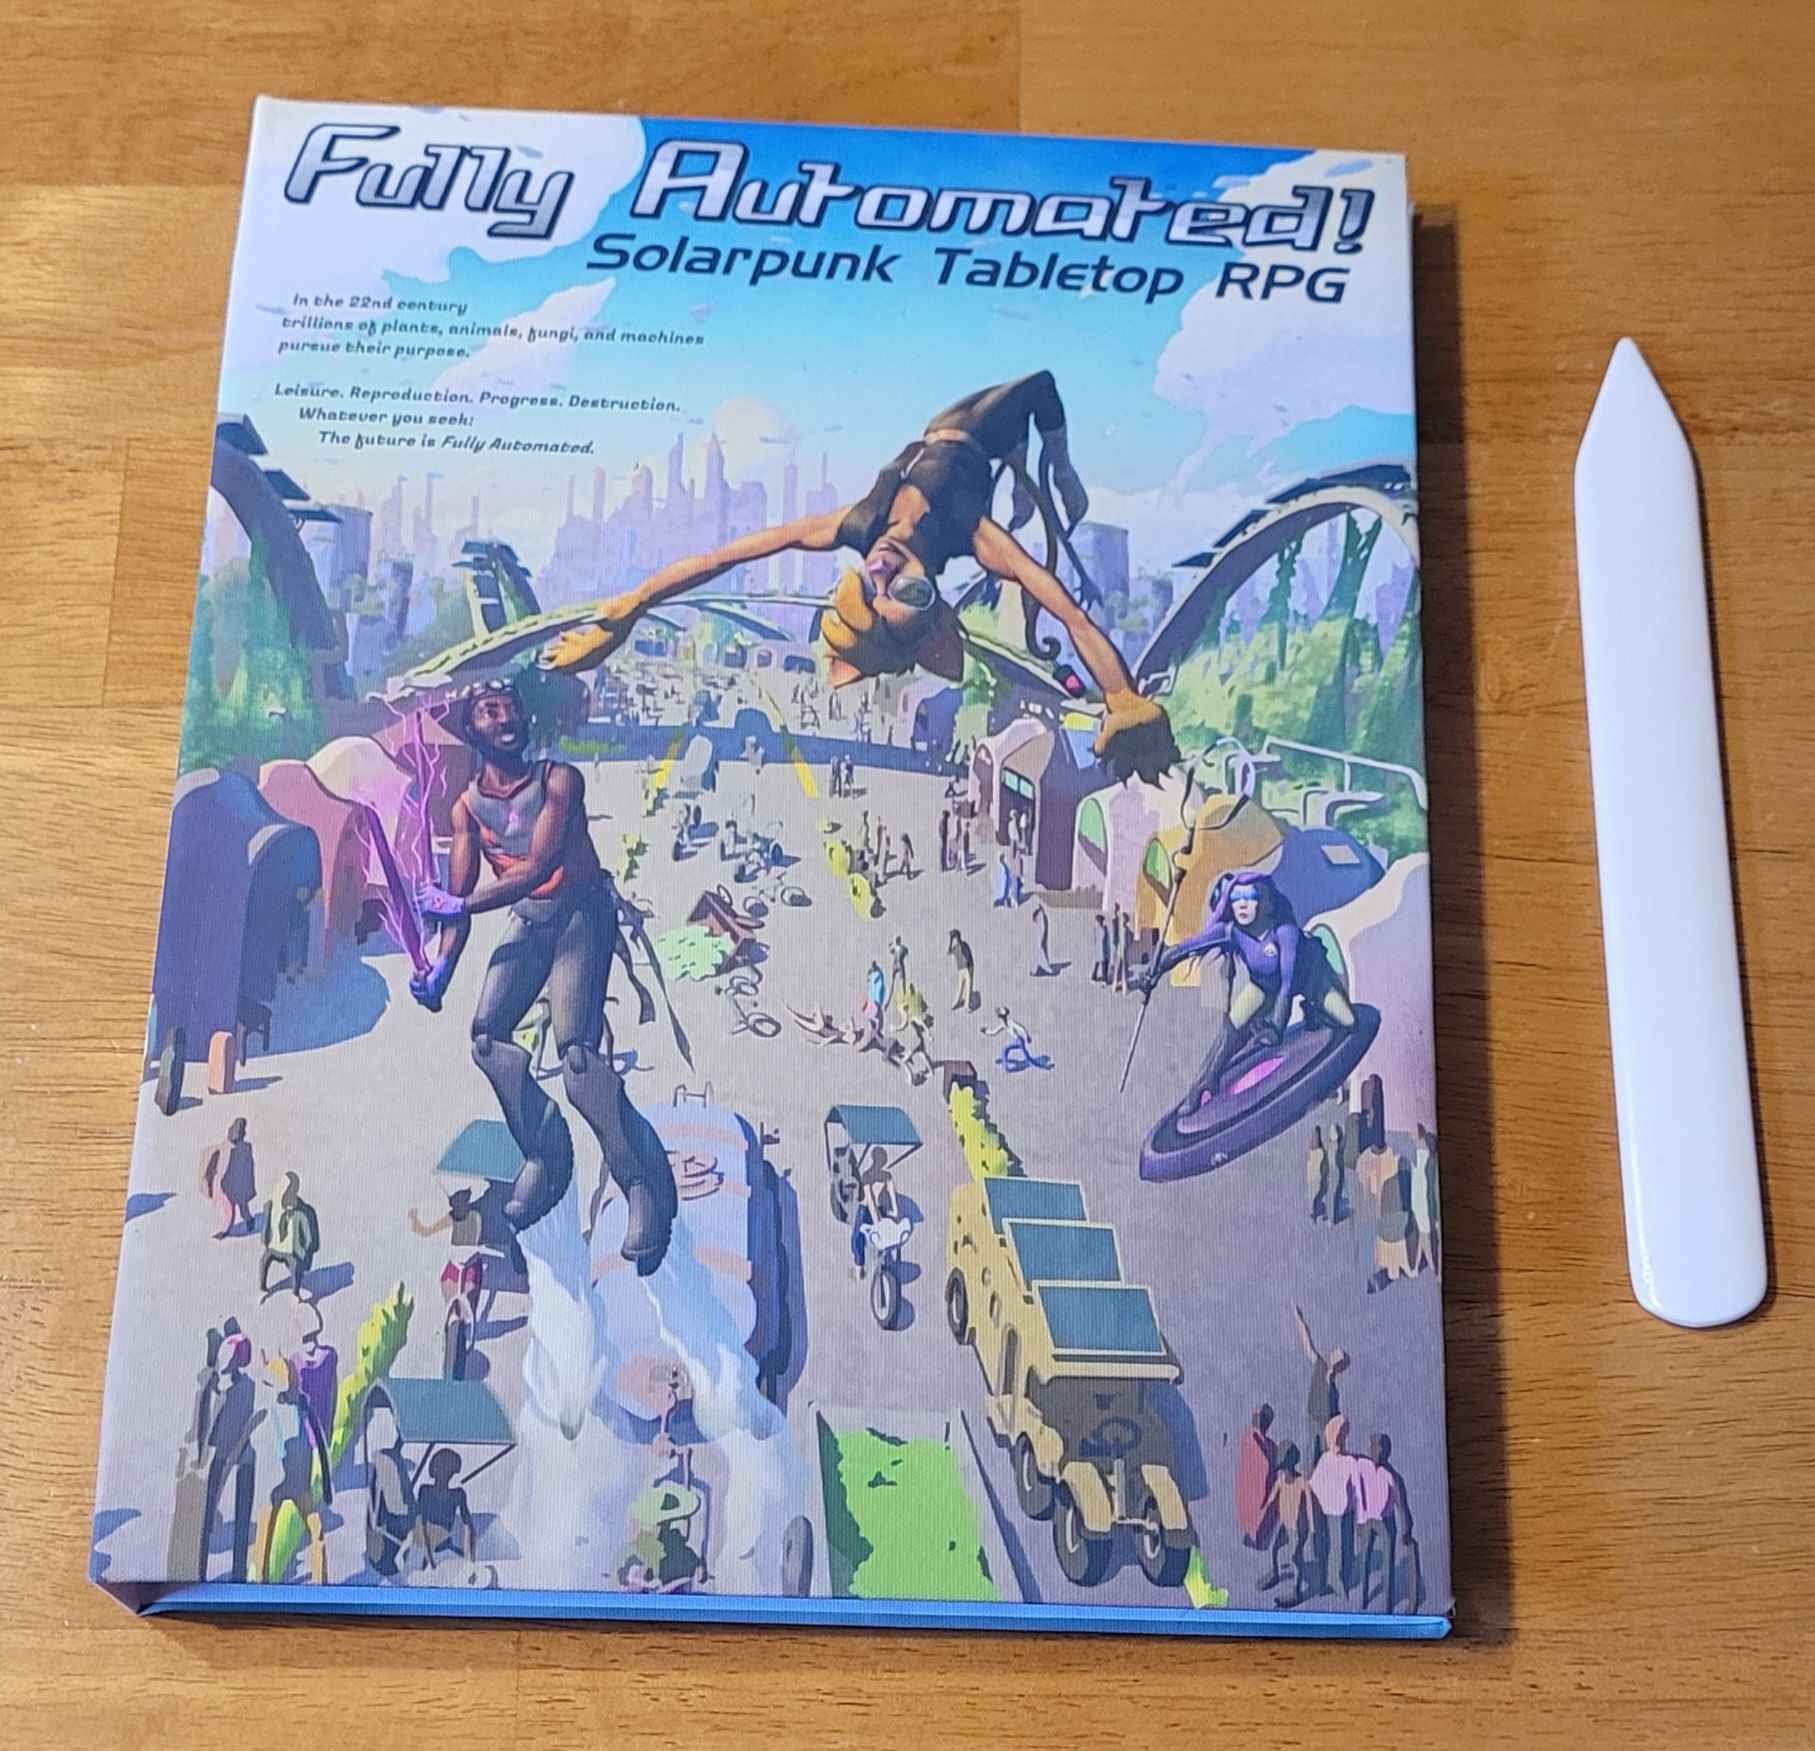
I’ve been working on writing a campaign(?) adventure module(?) For Fully Automated for the last couple months now. It’s the first piece of solarpunk fiction I’ve written, and it includes almost every setting concept I’ve been playing with in my Postcards from a Solarpunk Future series.
It’s a sort of treasure hunting adventure, where the players are on a quest to find several tons of illegally-dumped industrial waste, which is useful in the production of geopolymers. Through their investigation they’ll explore a mostly-abandoned town which is in the process of being deconstructed and rewilded, talk to locals and work crews, and hopefully unravel a cold-case murder mystery lost to the region’s chaotic past during the setting’s Global Climate War 60 years before.)
Writing this has been really fun - I think partially because I love worldbuilding, so I'm happily writing all the locations and options I can think of, knowing the players will only visit a subset of them.
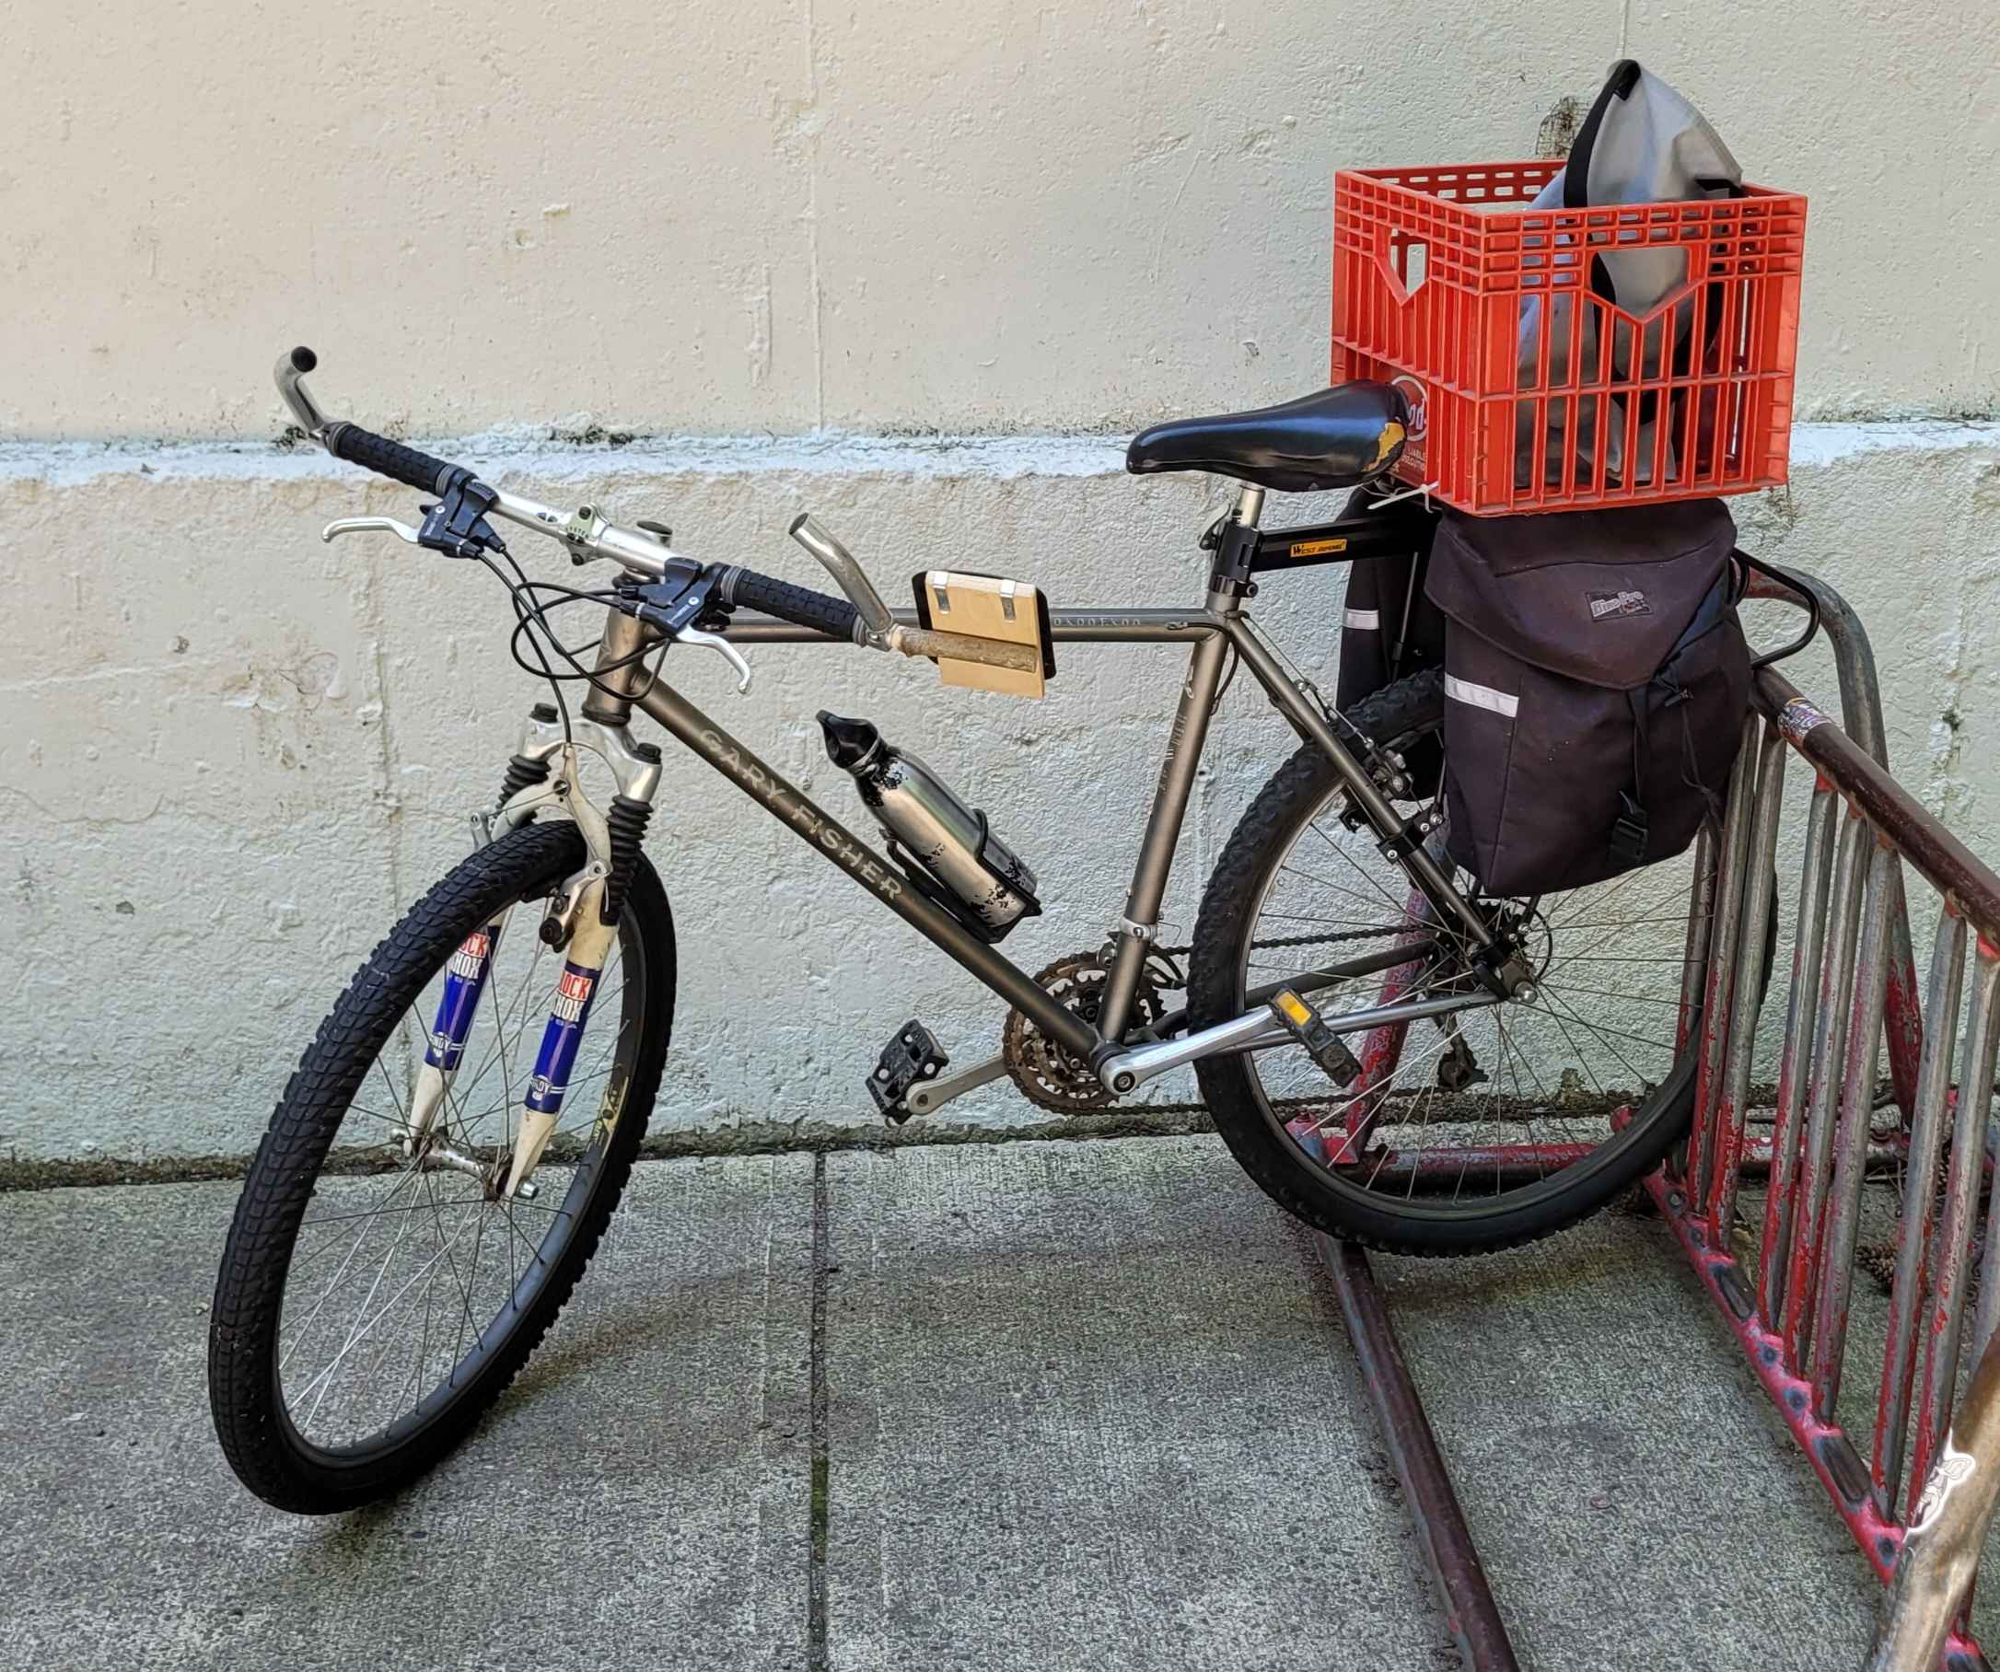
I’ve gotten far enough along that I think I can start photobashing together some art for some of the locations the players might decide to visit (starting with this bike kitchen in the village where the game begins).
In my postcard about deconstructing McMansions to reclaim the building materials and rewild the land, a few people brought up simply repurposing the buildings. I’d been batting around the concept in my head for awhile before then, but had struggled to figure out how to render a scene that showed everything I wanted it to.
I ended up using pretty much every idea I had for those scenes in the campaign’s starting village (a planned community which has repurposed an abandoned wealth enclave and its golf course as communal housing, workshops, and a food forest. That means I can put together photobashes of specific spots within that village, which I think is more achievable.
So here’s the first of the set. It shows a little bit of a repurposed discount mansion, but focuses mostly on the old back yard. The concrete patio has been removed, the large lawns and nearby golf course have grown into proper forests, and public paths have been brought right up to the house. The pool house has been turned into a bike co-op, and the swimming pool has been converted into a sunken greenhouse or Walipini.
Generally when you end up with an old swimming pool you don’t want, your options are to tear it out and fill in the hole, just fill in the pool, convert it into a natural pond, or (perhaps the least common answer) build one of these. Which one you pick will likely depend on your goals, the quality of the structure, and how far down your water table is. If it’s too high, it can lift an empty pool like a concrete boat, or cause other structural damage. But if circumstances are right, and the pool is intact after being abandoned and empty for a good many years already, it might be worth repurposing.
There are some beautiful and solarpunk photos online of real life versions of these, which have a far grander scale than what I’ve depicted here. This is more like the old pineapple pits, or a fancy version of the citrus trenches. Who knows, maybe they even cut away part of the floor so they could plant into the ground below.
The above-ground portion of the greenhouse is backed with an earthen berm/raised bed meant to help it maintain a consistent temperature. The retaining walls of the tiered bed are made from repruposed, broken-up concrete (sometimes called urbanite), likely sourced from the concert patio which was replaced with wood chips for better water permeability. Some full-shade plants like rhubarb and mint have been planted on the back slope, and a grape arbor has been built over it. Sweet peas are growing along the side where there’s more light. Raspberries and wildflowers grow around the rest of the smaller yard space.
In the background of the scene, an old pool house has been converted into a bike kitchen, one locations where the players will be able to obtain transportation.
A network of paths have been built all throughout the village, the food forest, and the region beyond. Even the town the players will explore is riddled with small trails and paths which the locals have built in lieu of trying to maintain a full network of paved roads. This was inspired by my hometowns' network of backwoods trails, and the downsizing to achieve a maintainable transportation network described in this article. Some roads obviously still exist because they're useful, but others have been washed out and never repaired because none of the current residents need them for anything, while new trails cut straight through properties nobody has lived in for decades.
The buildings are painted with colorful murals. This is always a challenge for me in these photobashes. I love the idea of a society that makes art everywhere for its own sake and I'd hope a solarpunk society would abandon some of the obsession with property values and would decorate everything from buildings to machines, in all kinds of styles. That might mean folk art with historical roots, like the zapista murals, it might mean carved panels on cabinets, or etchings on tools, metal sculpture, or who knows what. Embellishment not for commercial value but as self expression and messaging. So the topics and content would vary a lot.
I think there's a bit of punk in that, in refusing to paint or decorate with an eye on the resale value, like your house is a product for others rather than your own home.
So I try to include murals, carvings, and other decorations in my solarpunk art. Unfortunately I've also found that in my postcards, where the buildings are usually part of a cluttered background, murals can kind of act like dazzle camouflage, making it hard to tell what exactly is happening. So I'm still figuring out what works and what doesn't. (Ideally, I want the contents of the mural to be clear while also allowing for the building and the assorted stuff attached to it (plants, solar panels, other tech) to be easily recognized and understood. It's challenging and something I might revisit someday. I did try a version where the bike kitchen's mural was made out of silhouetted bike parts, but it looked less obviously like a paint job on a building, so I went with the mandala for clarity for now.
Overall I think this'll work for now, and get us closer to a playable version, though I am still messing with it, looking for something that'll hit that adventure story vibe visually. I'm going much more line-art-and-flat-colors for the character portraits, so we'll see if that works here.


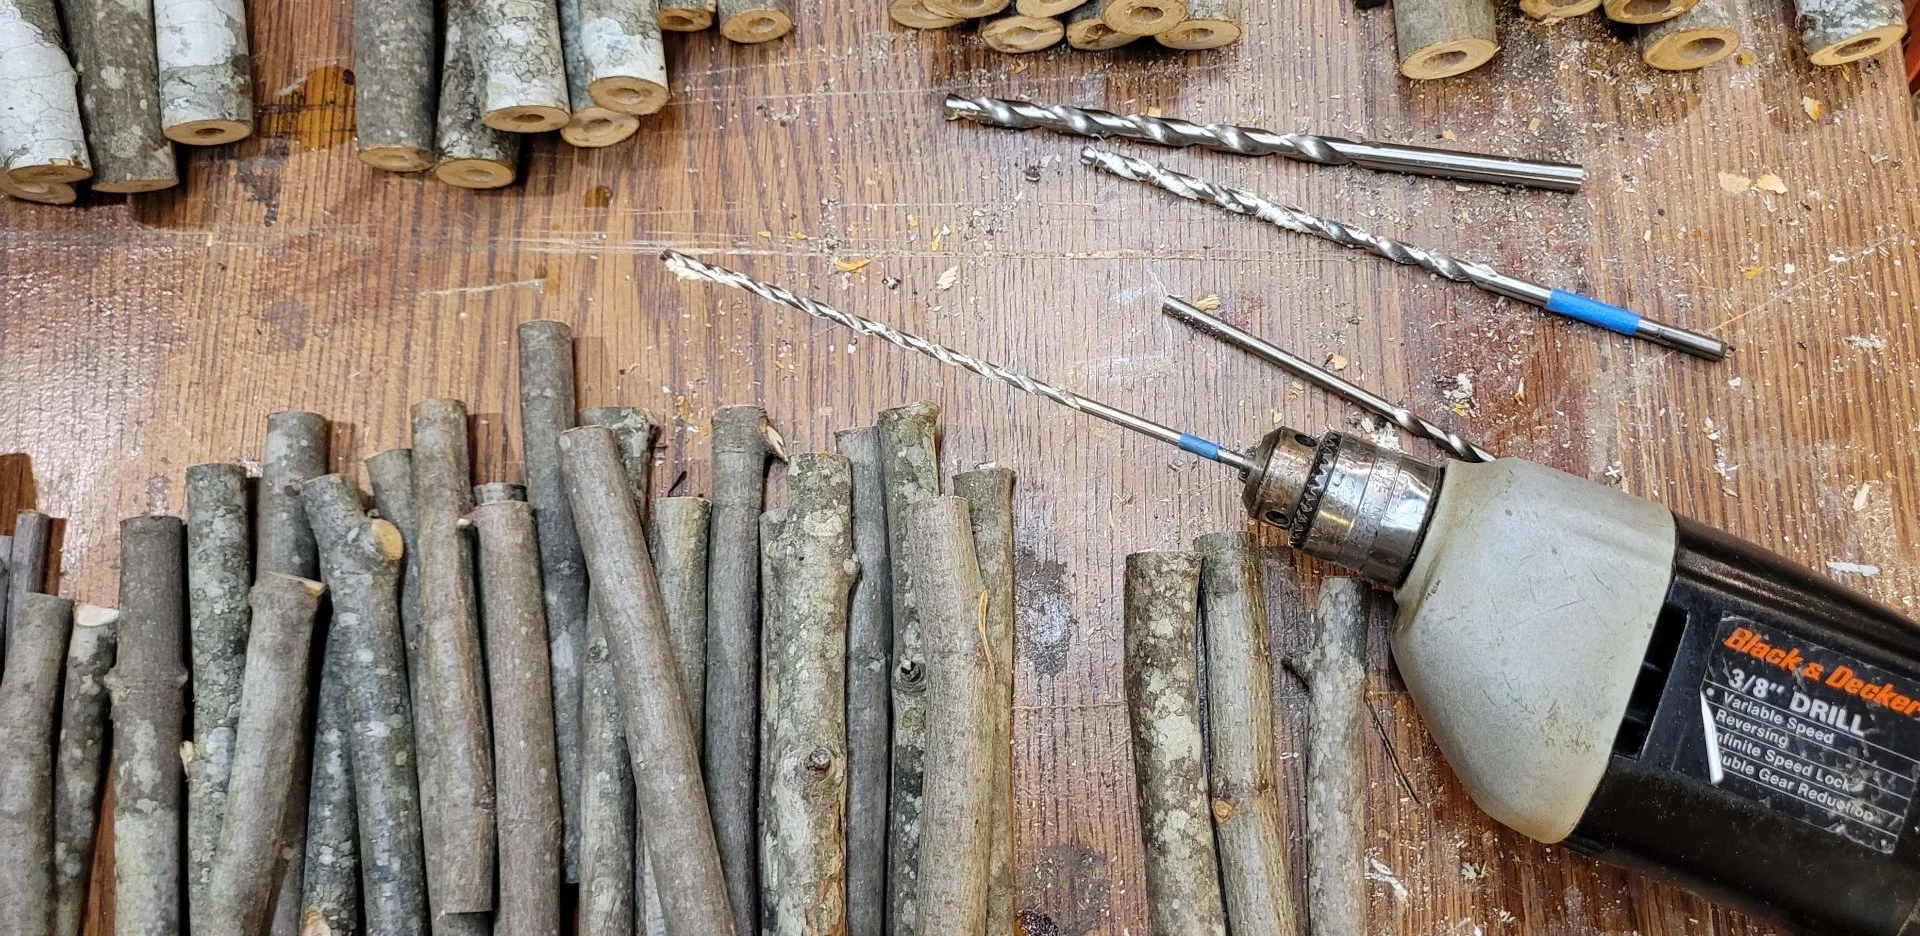
 (Test fitting the 3/8 rod into the upper section of the telescoping rear post)
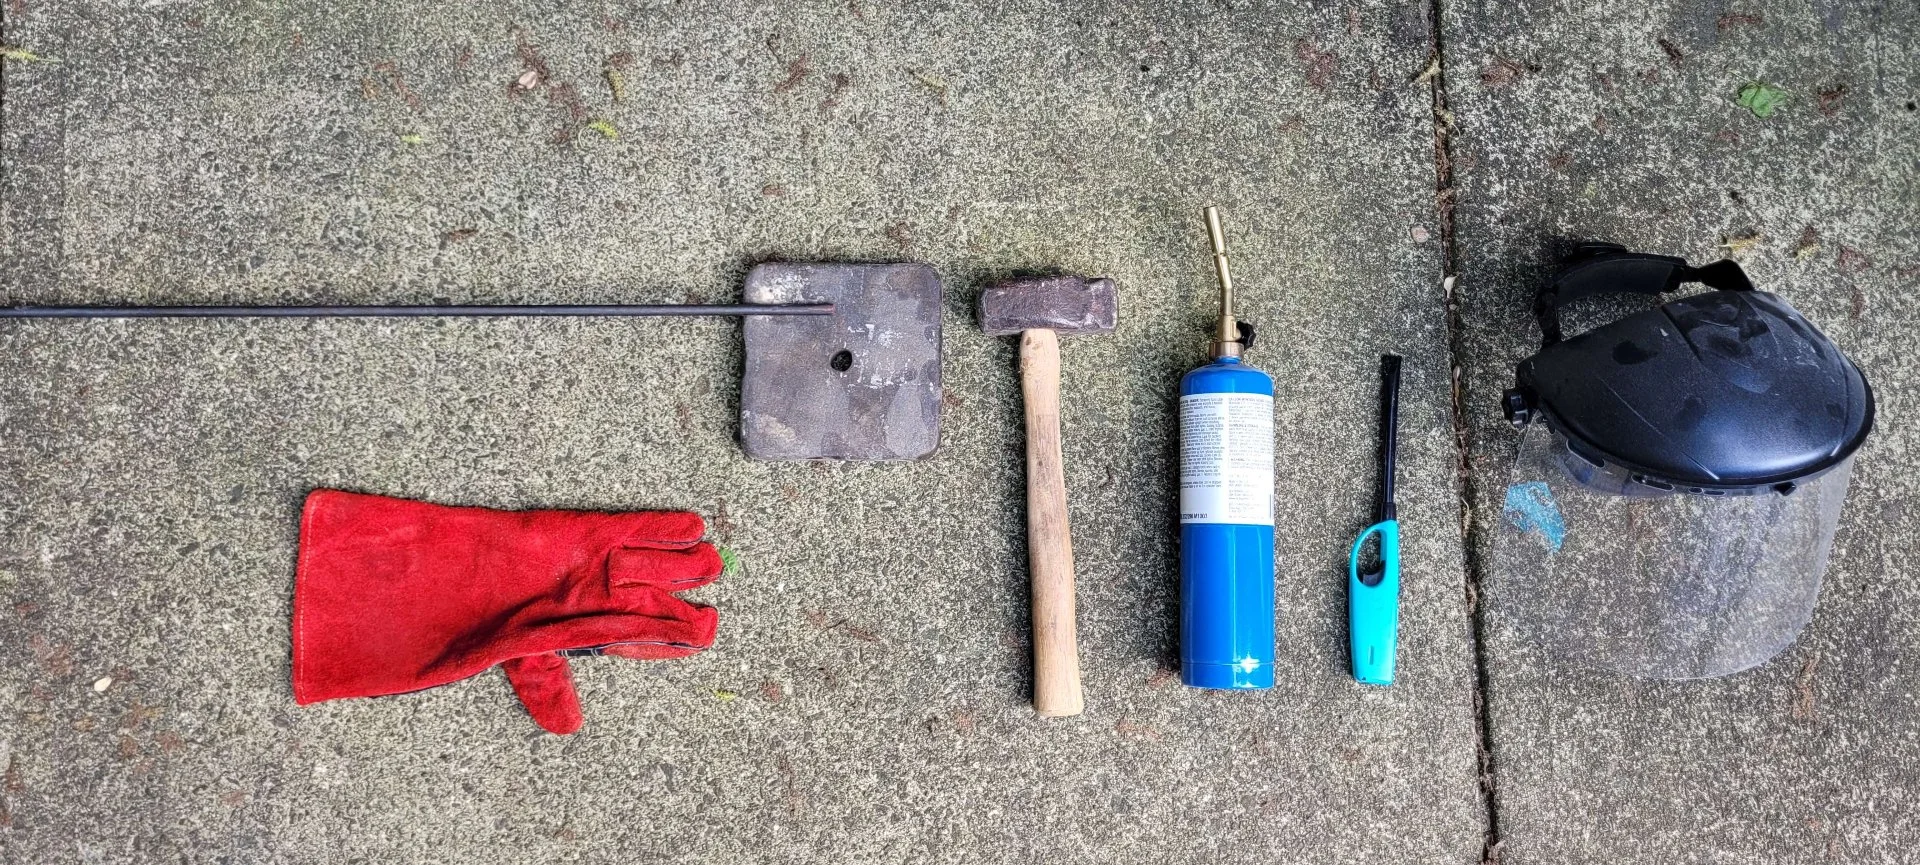


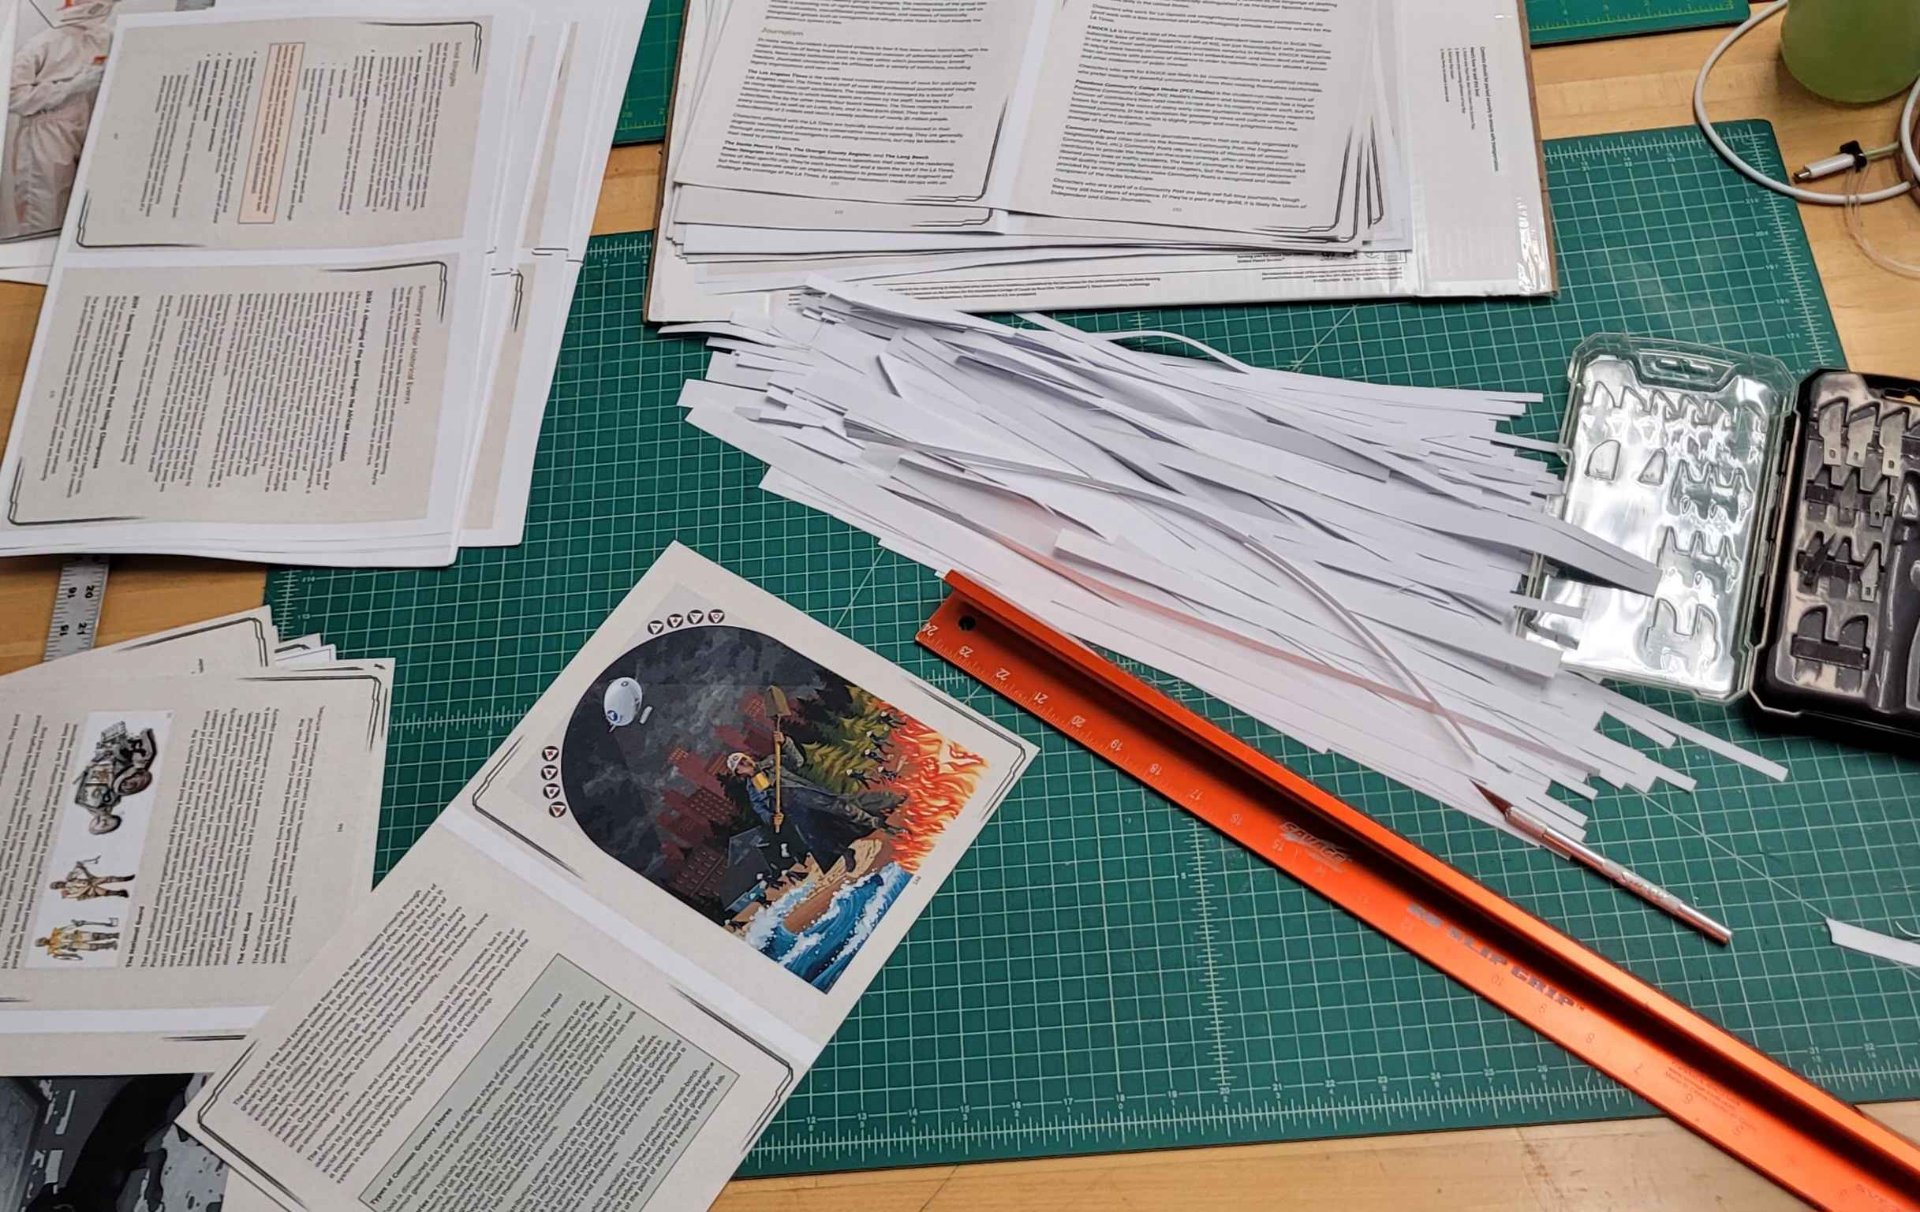
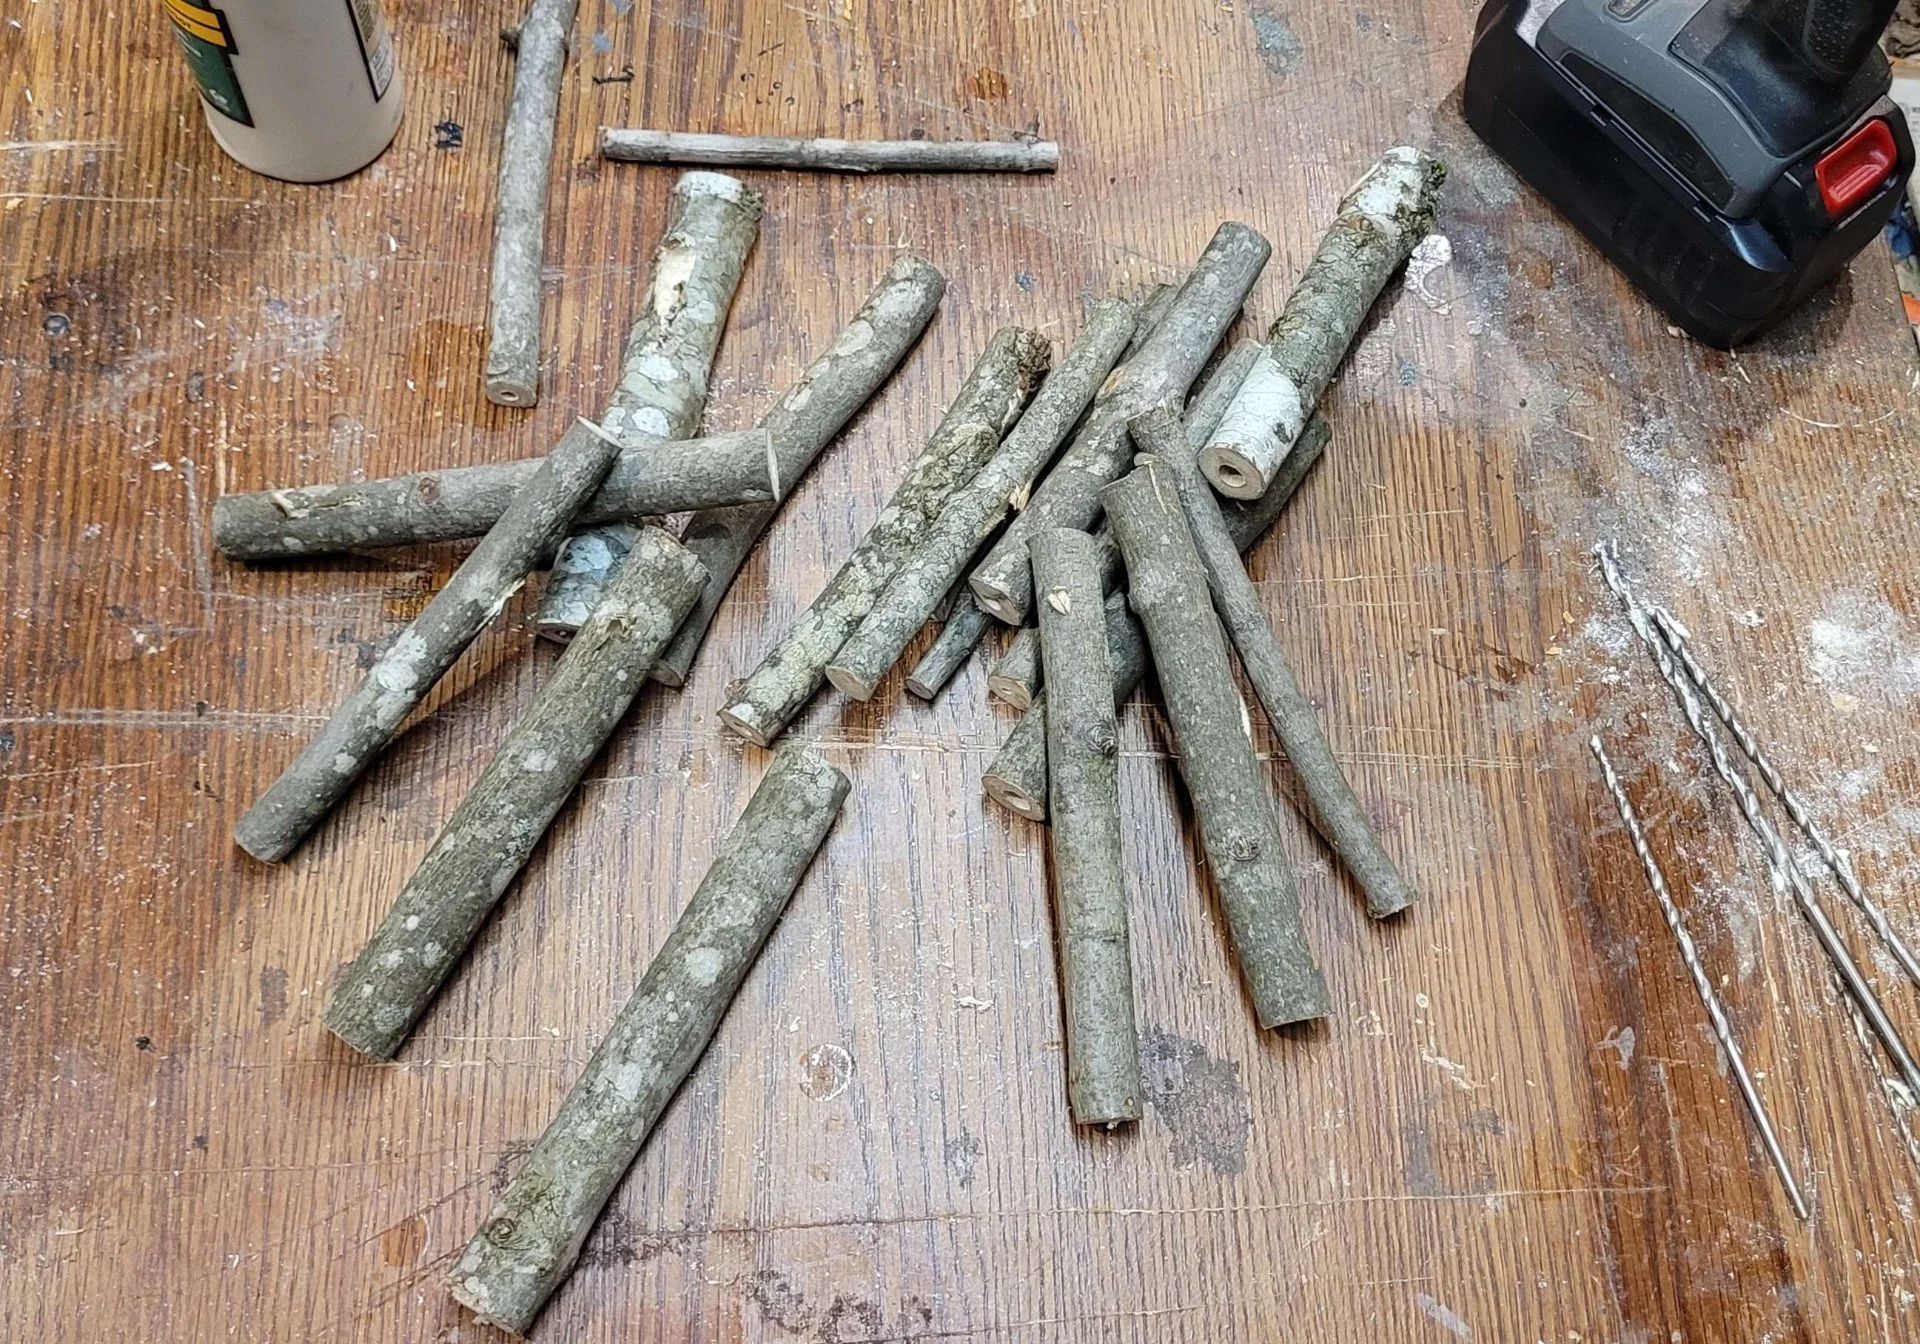
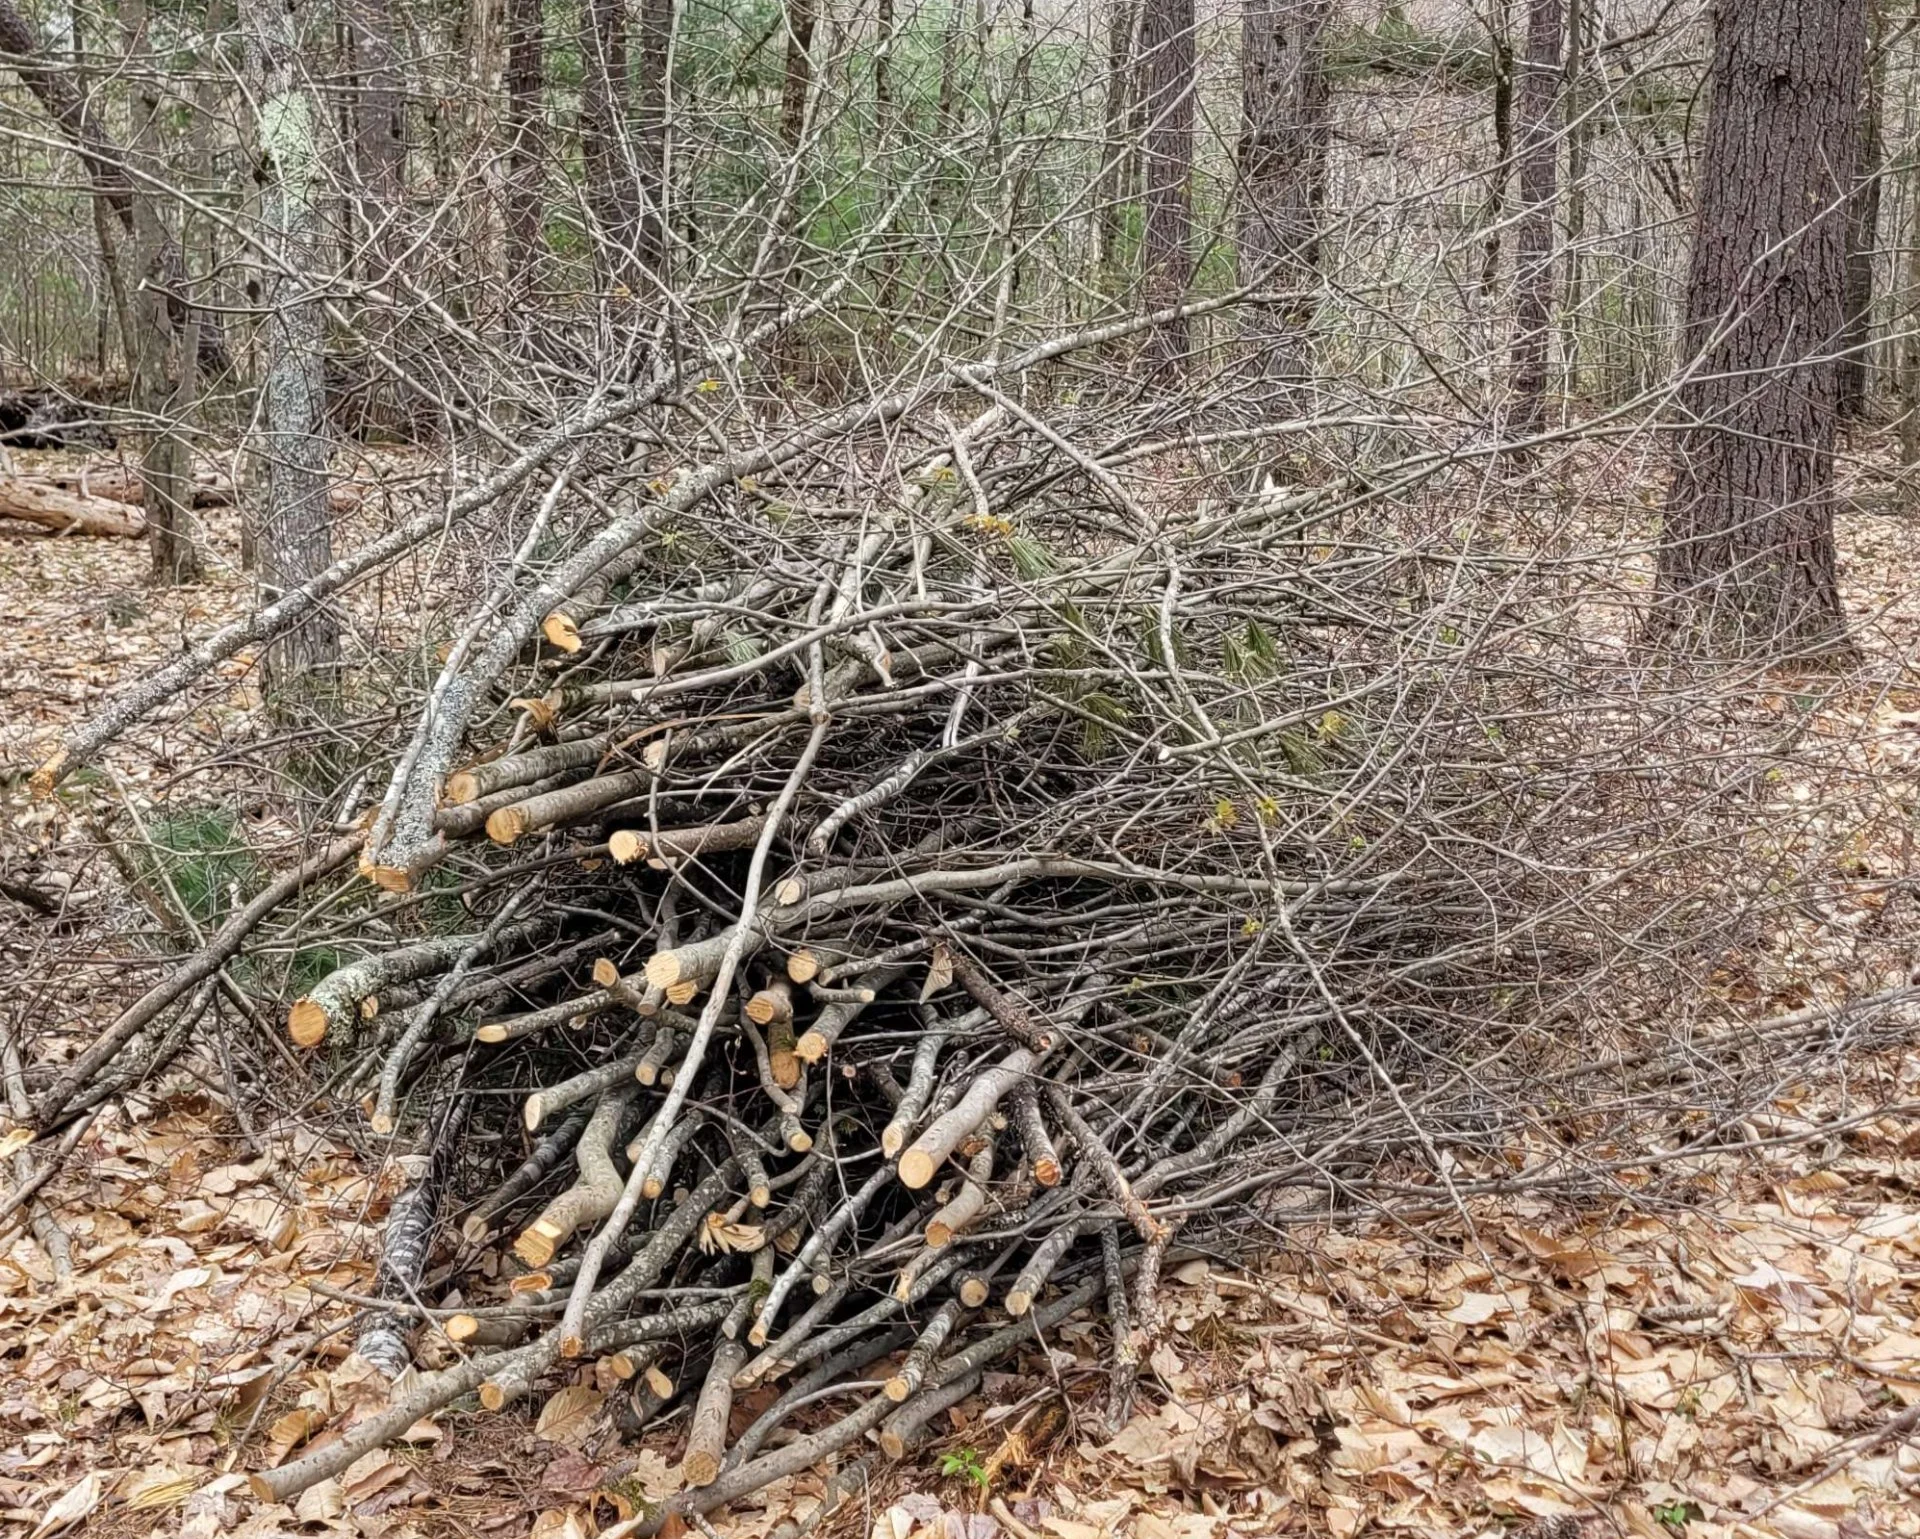 (One pile of many)
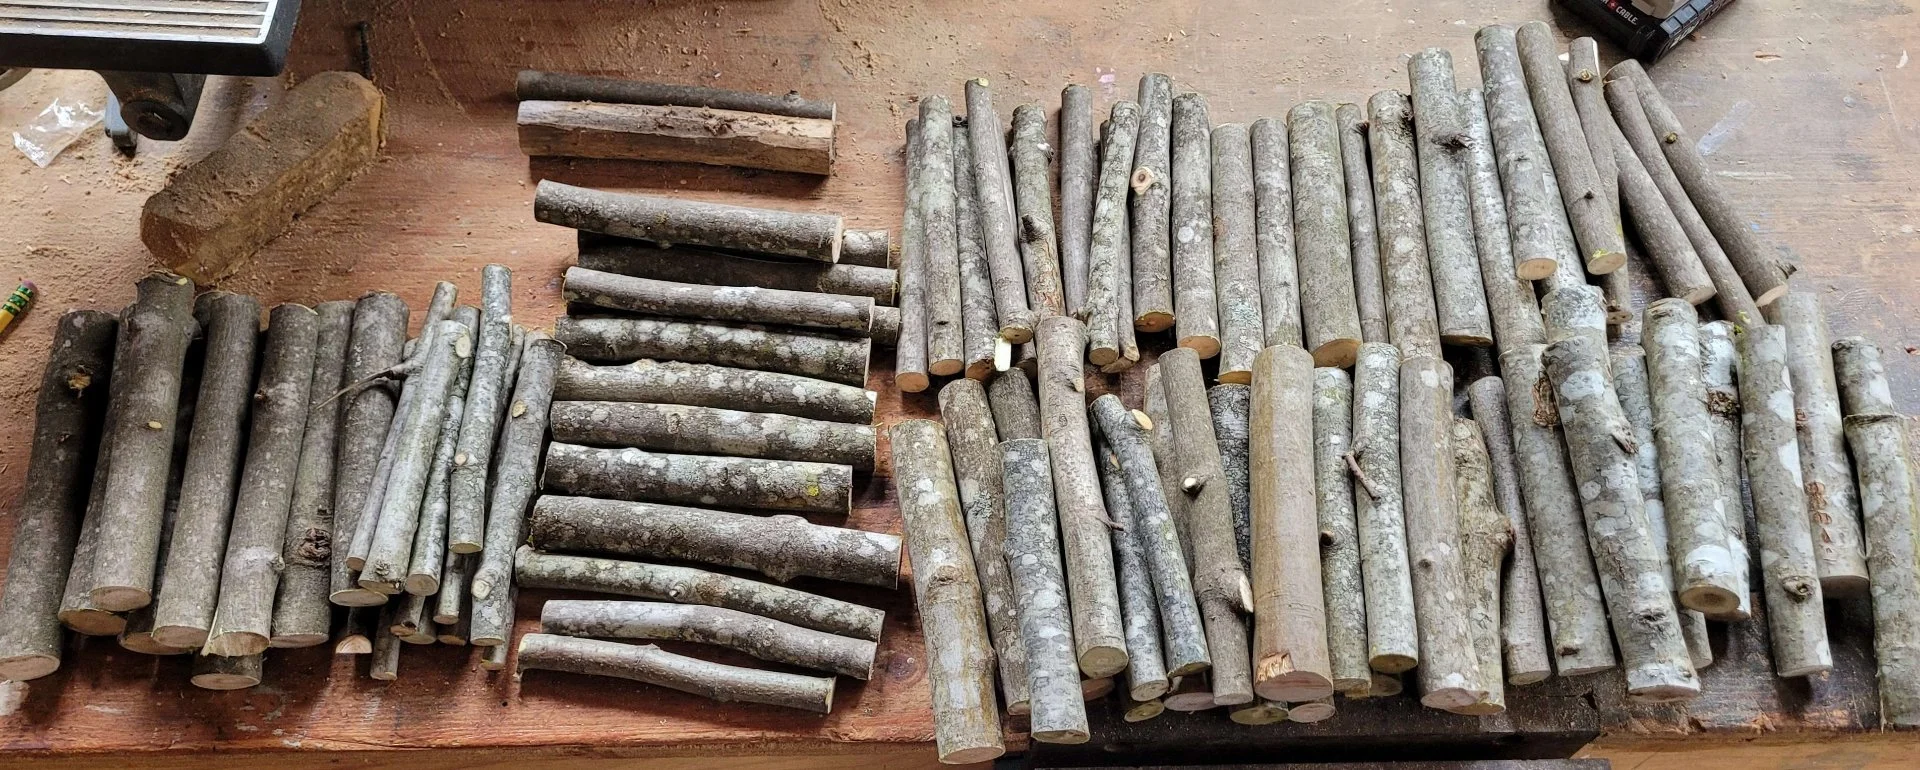


Ecotopia is a fun one because it hits all the notes but predates the genre.
Murder in the Tool Library is a favorite of mine because the setting is awesome and aspirational while feeling real and human, and because the murder mystery plot is a change from the usual ecofiction.
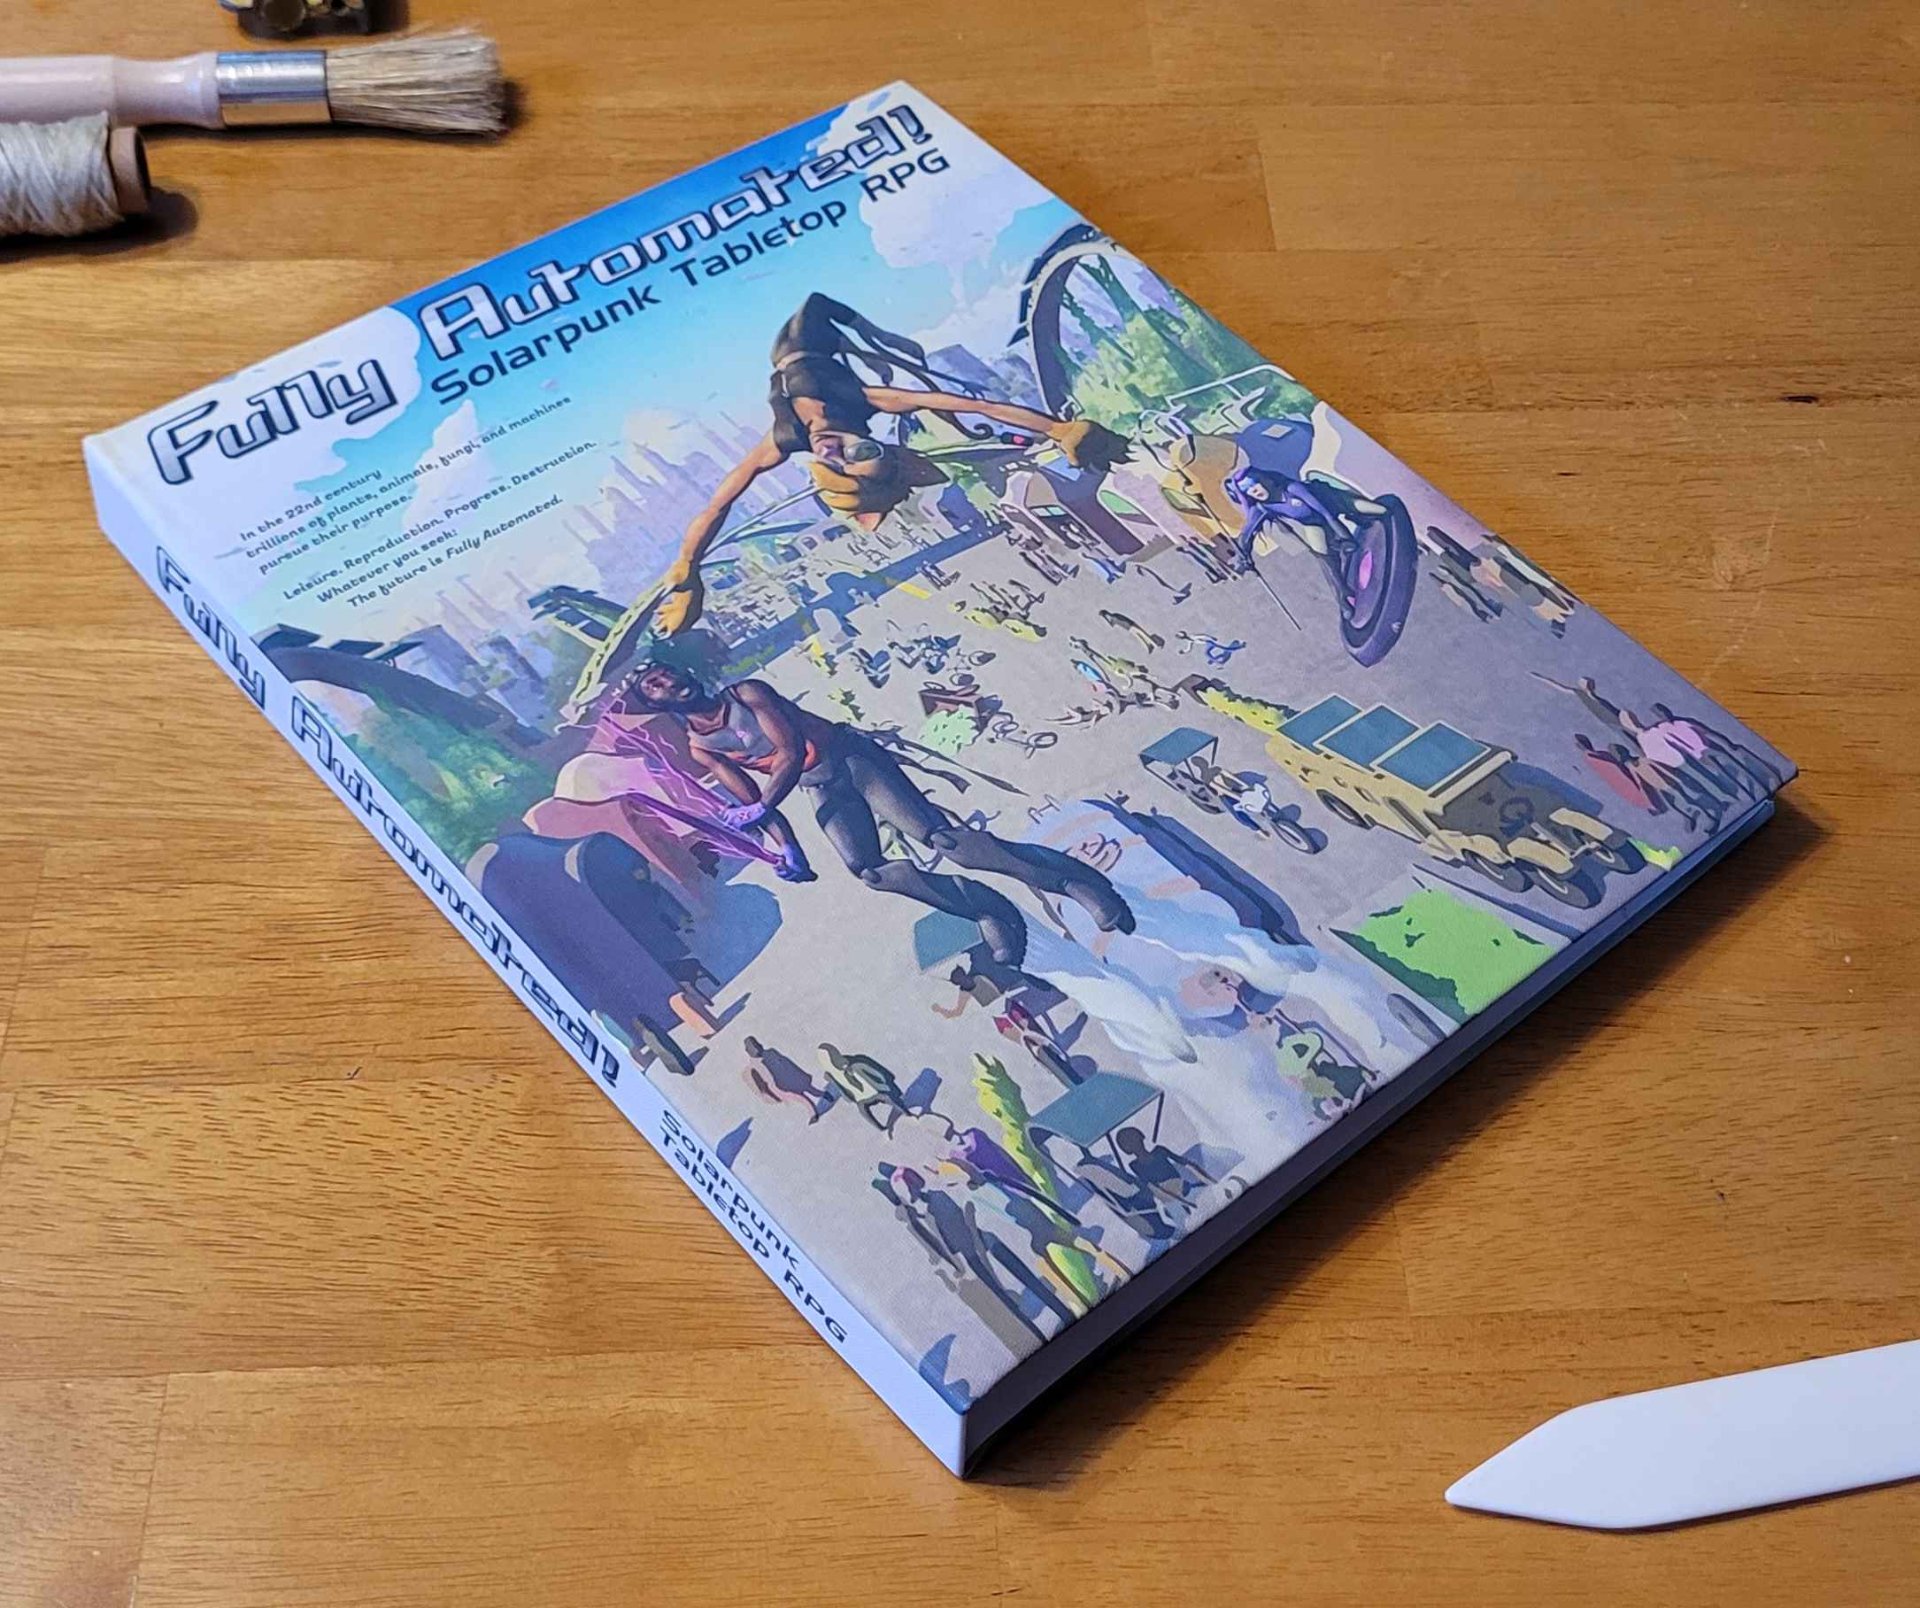
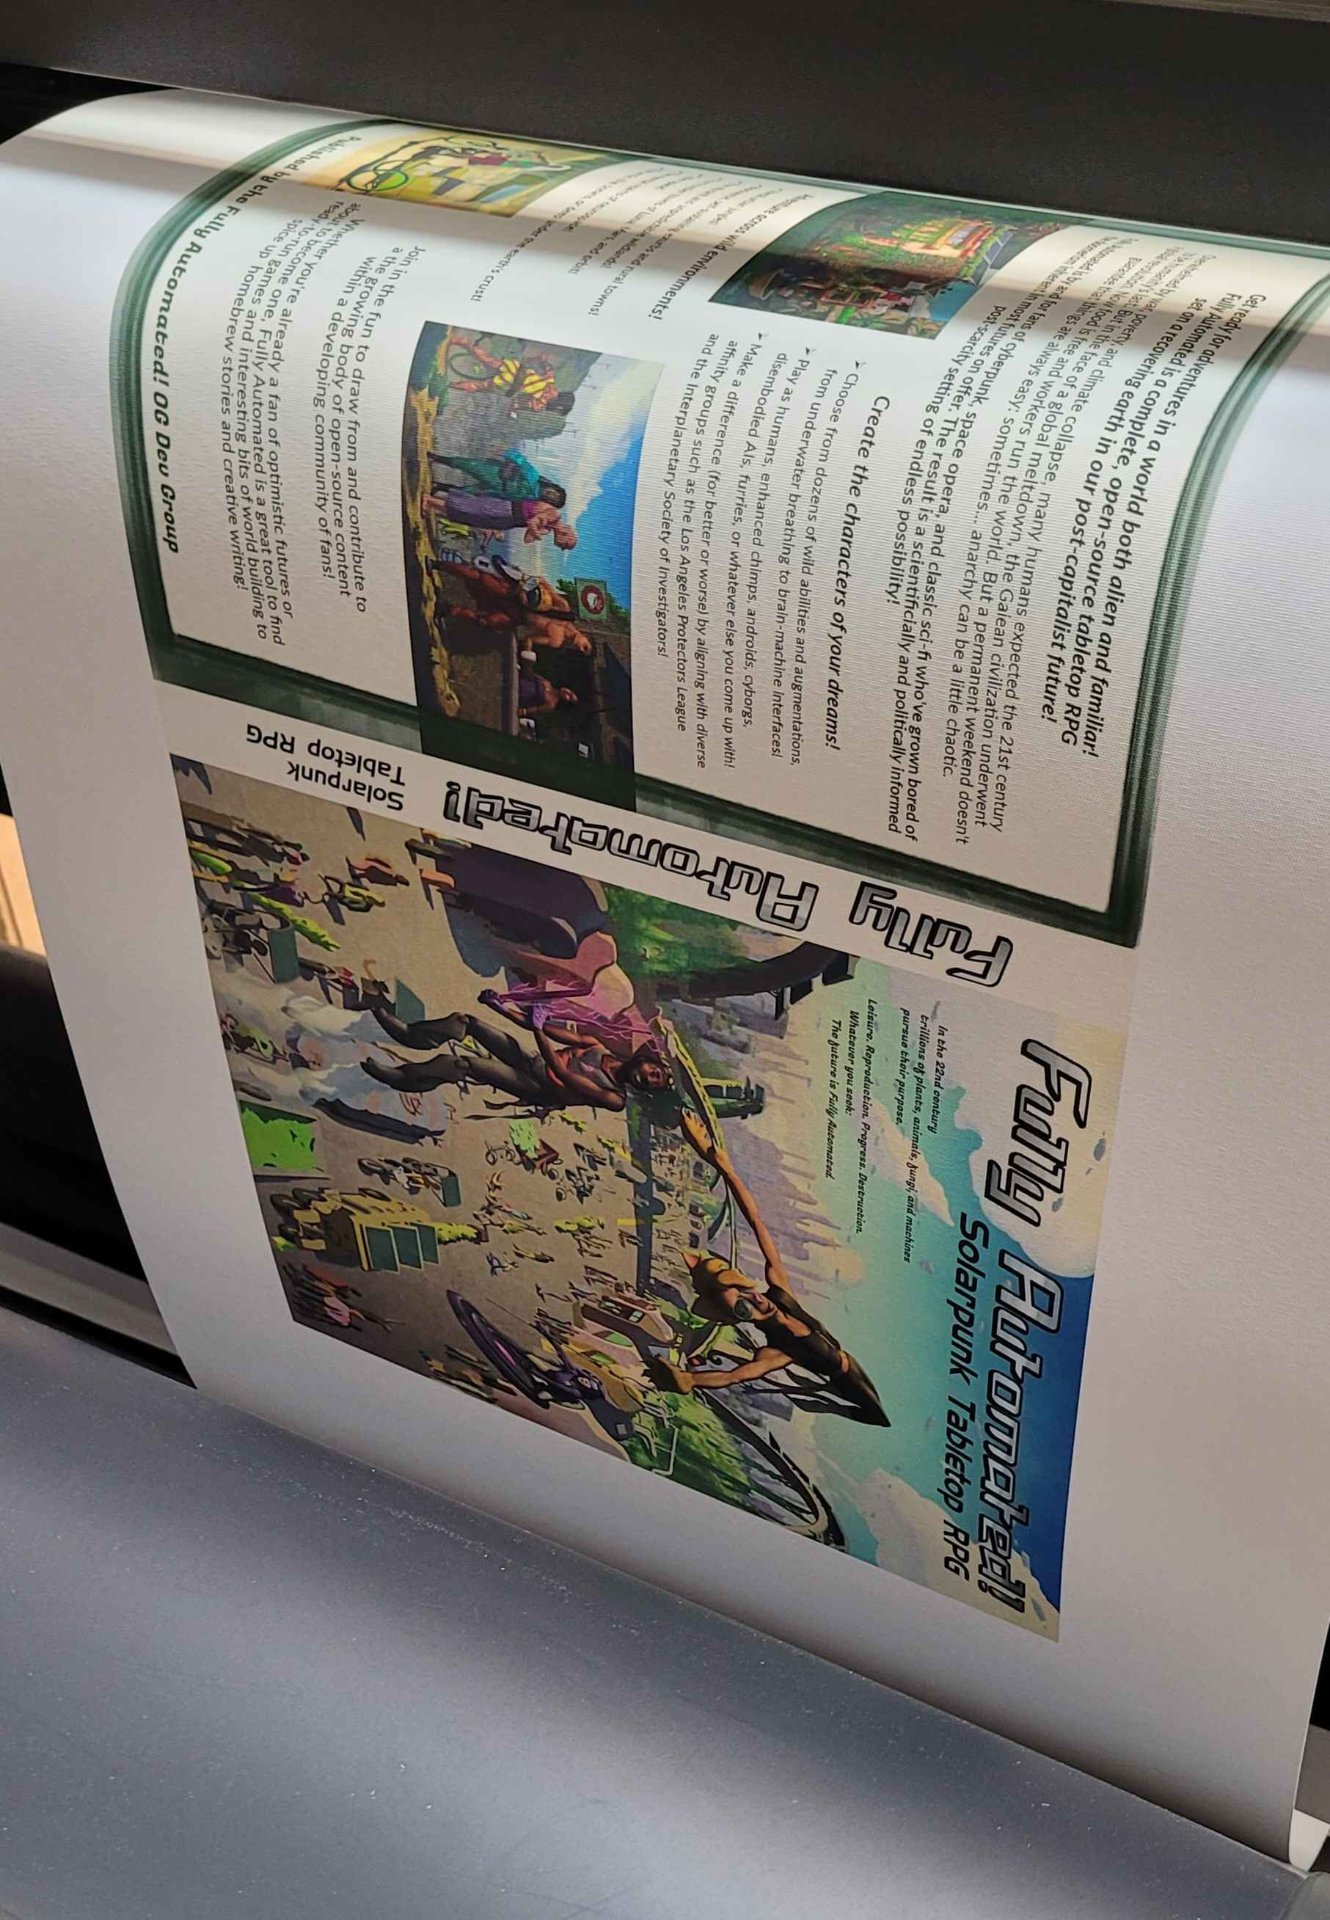
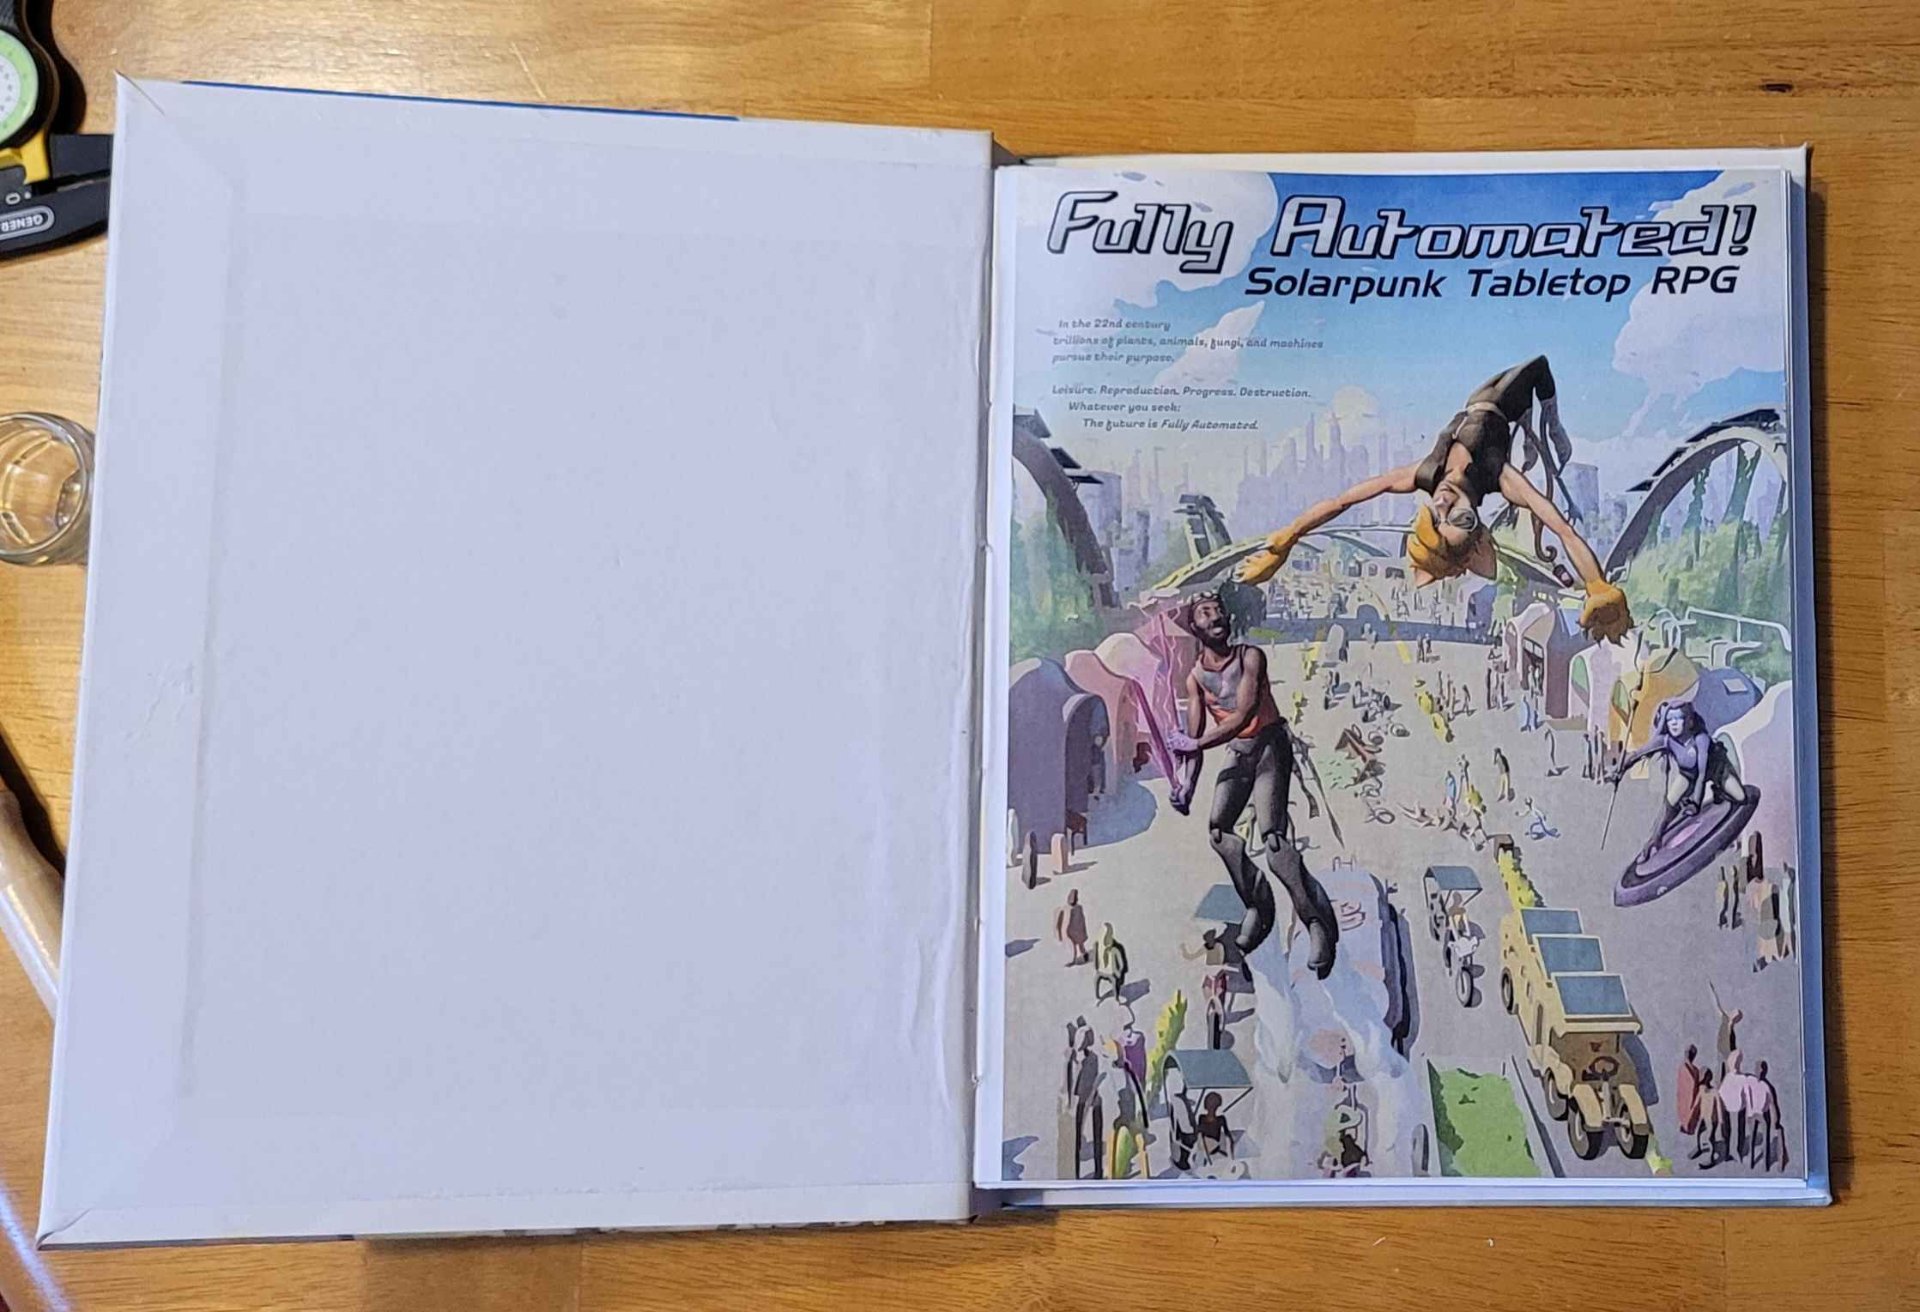
The solarpunk TTRPG Fully Automated! is free (libre and gratis) and has several sections devoted to its setting and worldbuilding that helped me understand a bunch of solarpunk concepts by seeing them in practice and to start thinking much bigger with my own fiction. It also has some good advice on creating engaging plots in an aspirational solarpunk setting where a lot of the usual problems have been solved.